Category Archives: Let it Grow!

Updates on the progress of my garden…or how many new holes Bojangles has dug?

3 Things I Learned My First Year Blogging

To celebrate this blog’s 1st birthday, I’ve put together a list of the three things I learned my first year blogging.

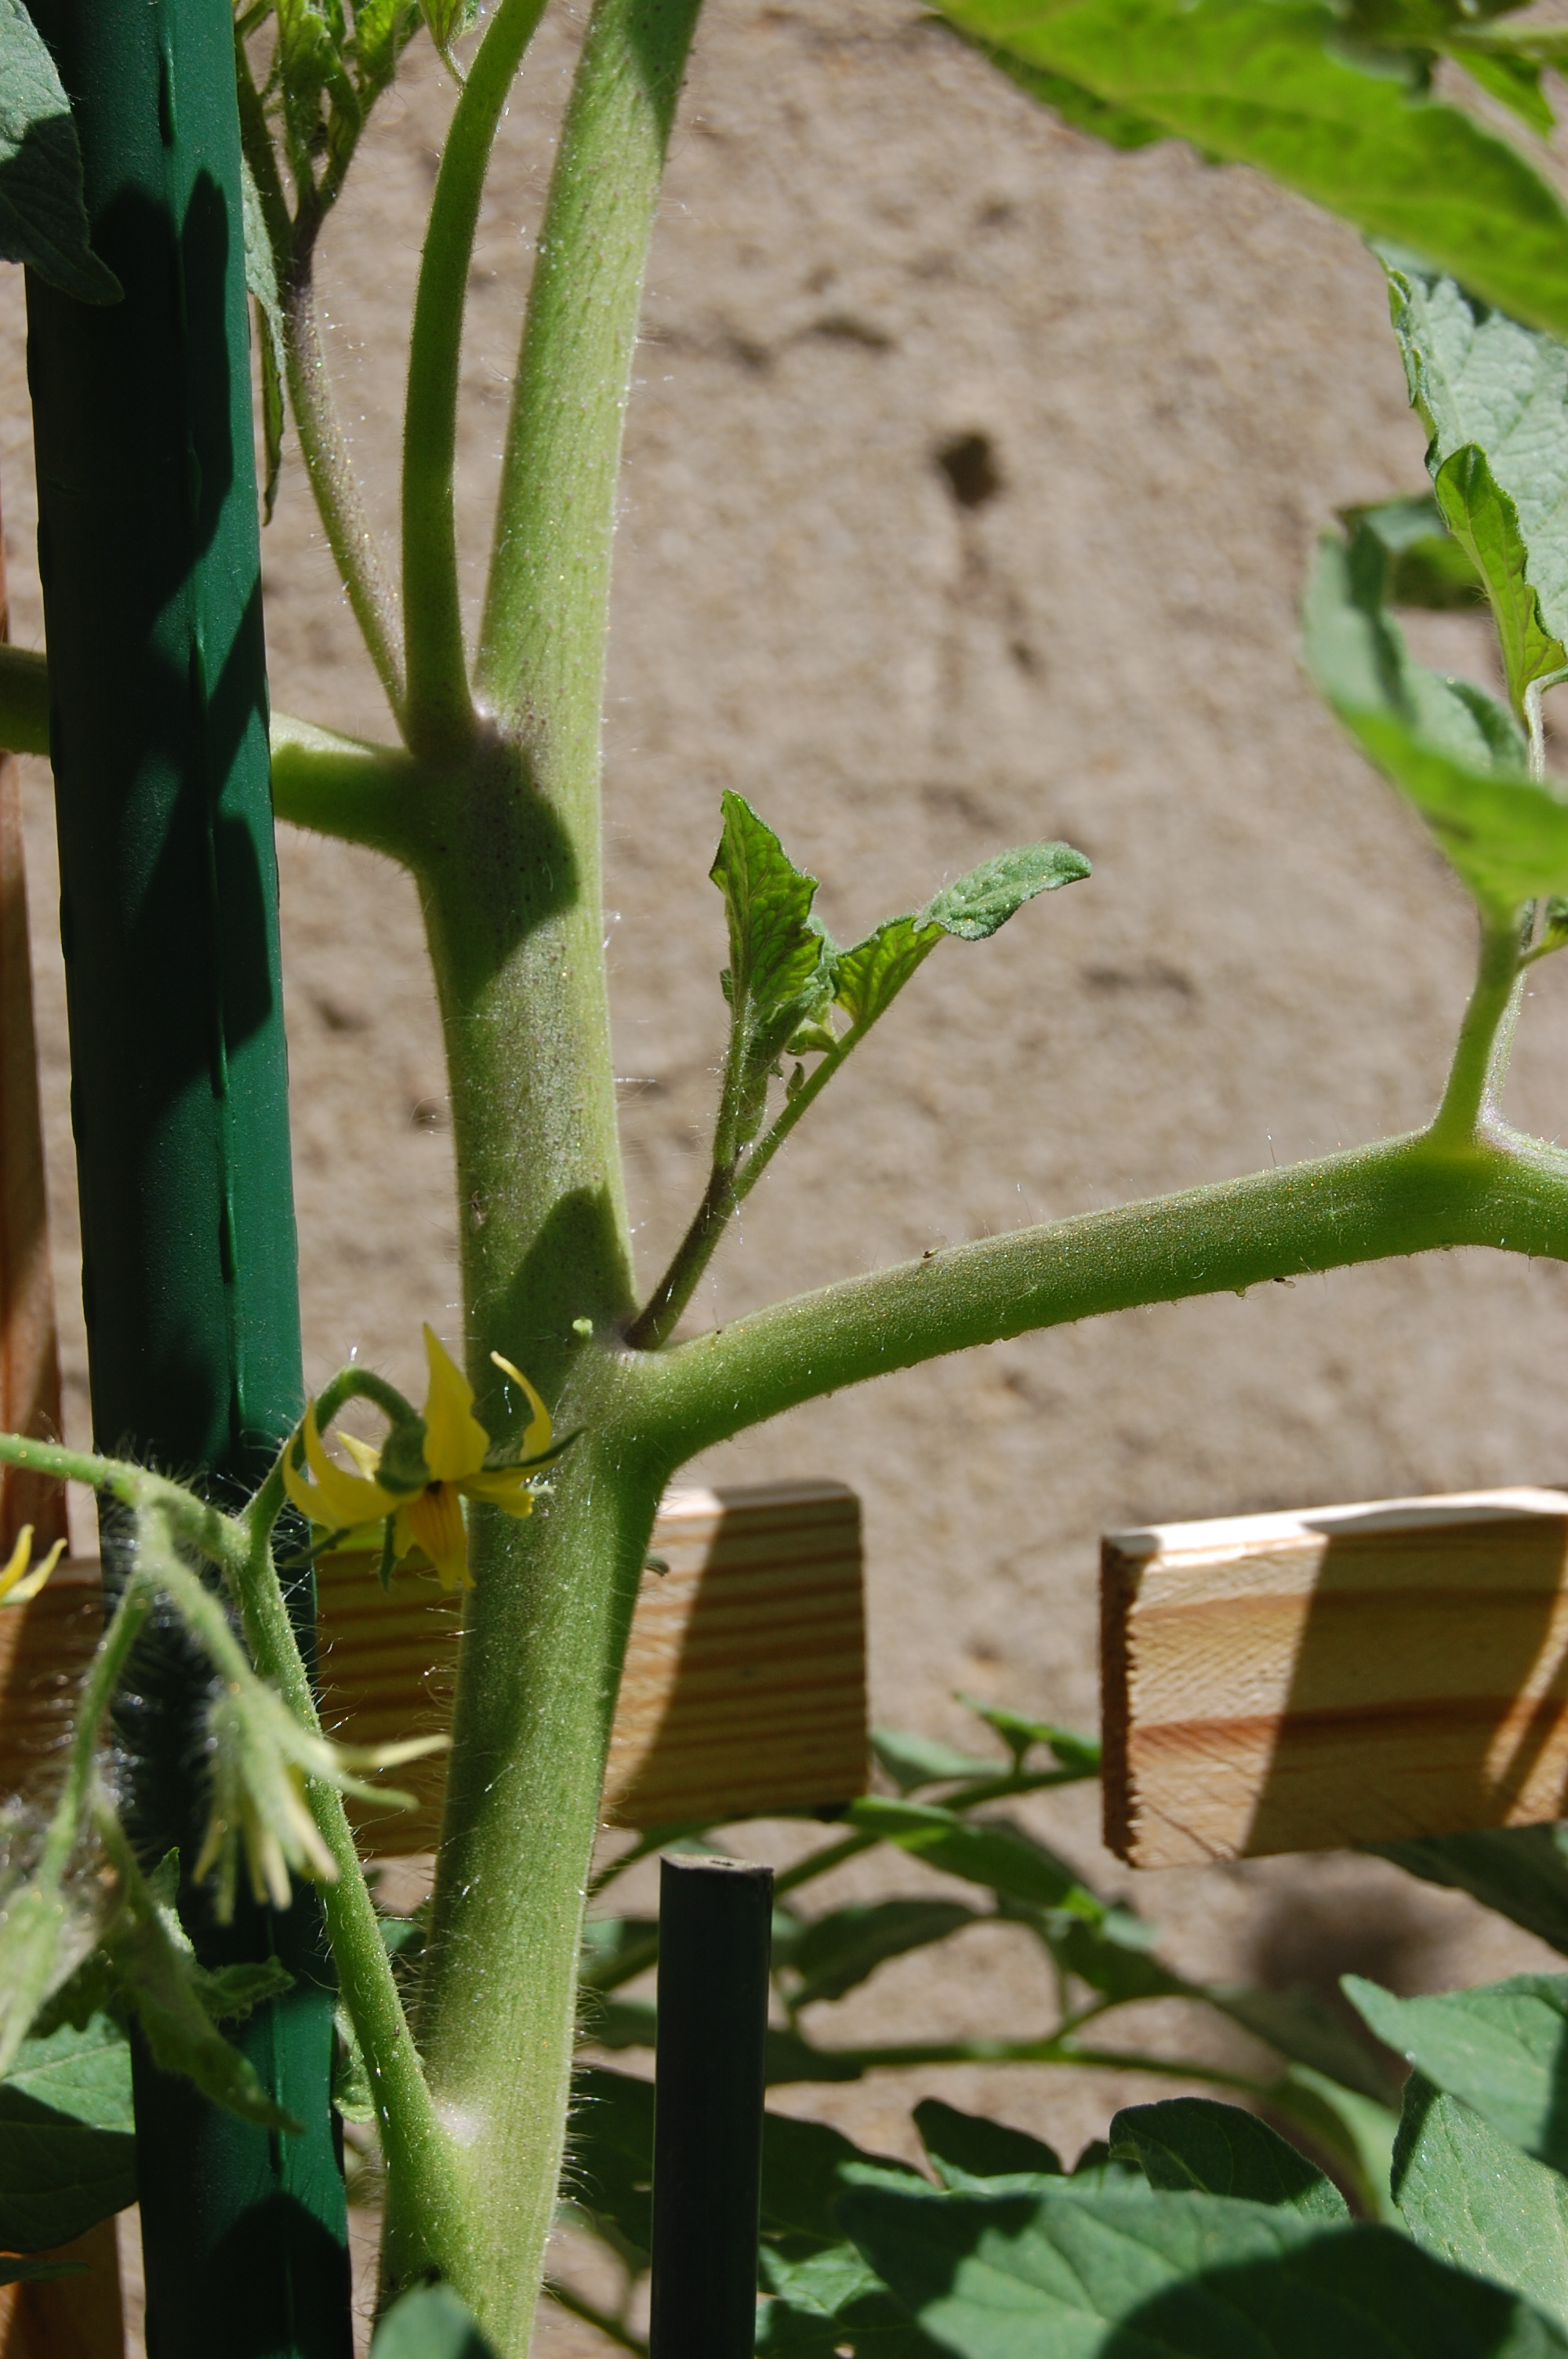
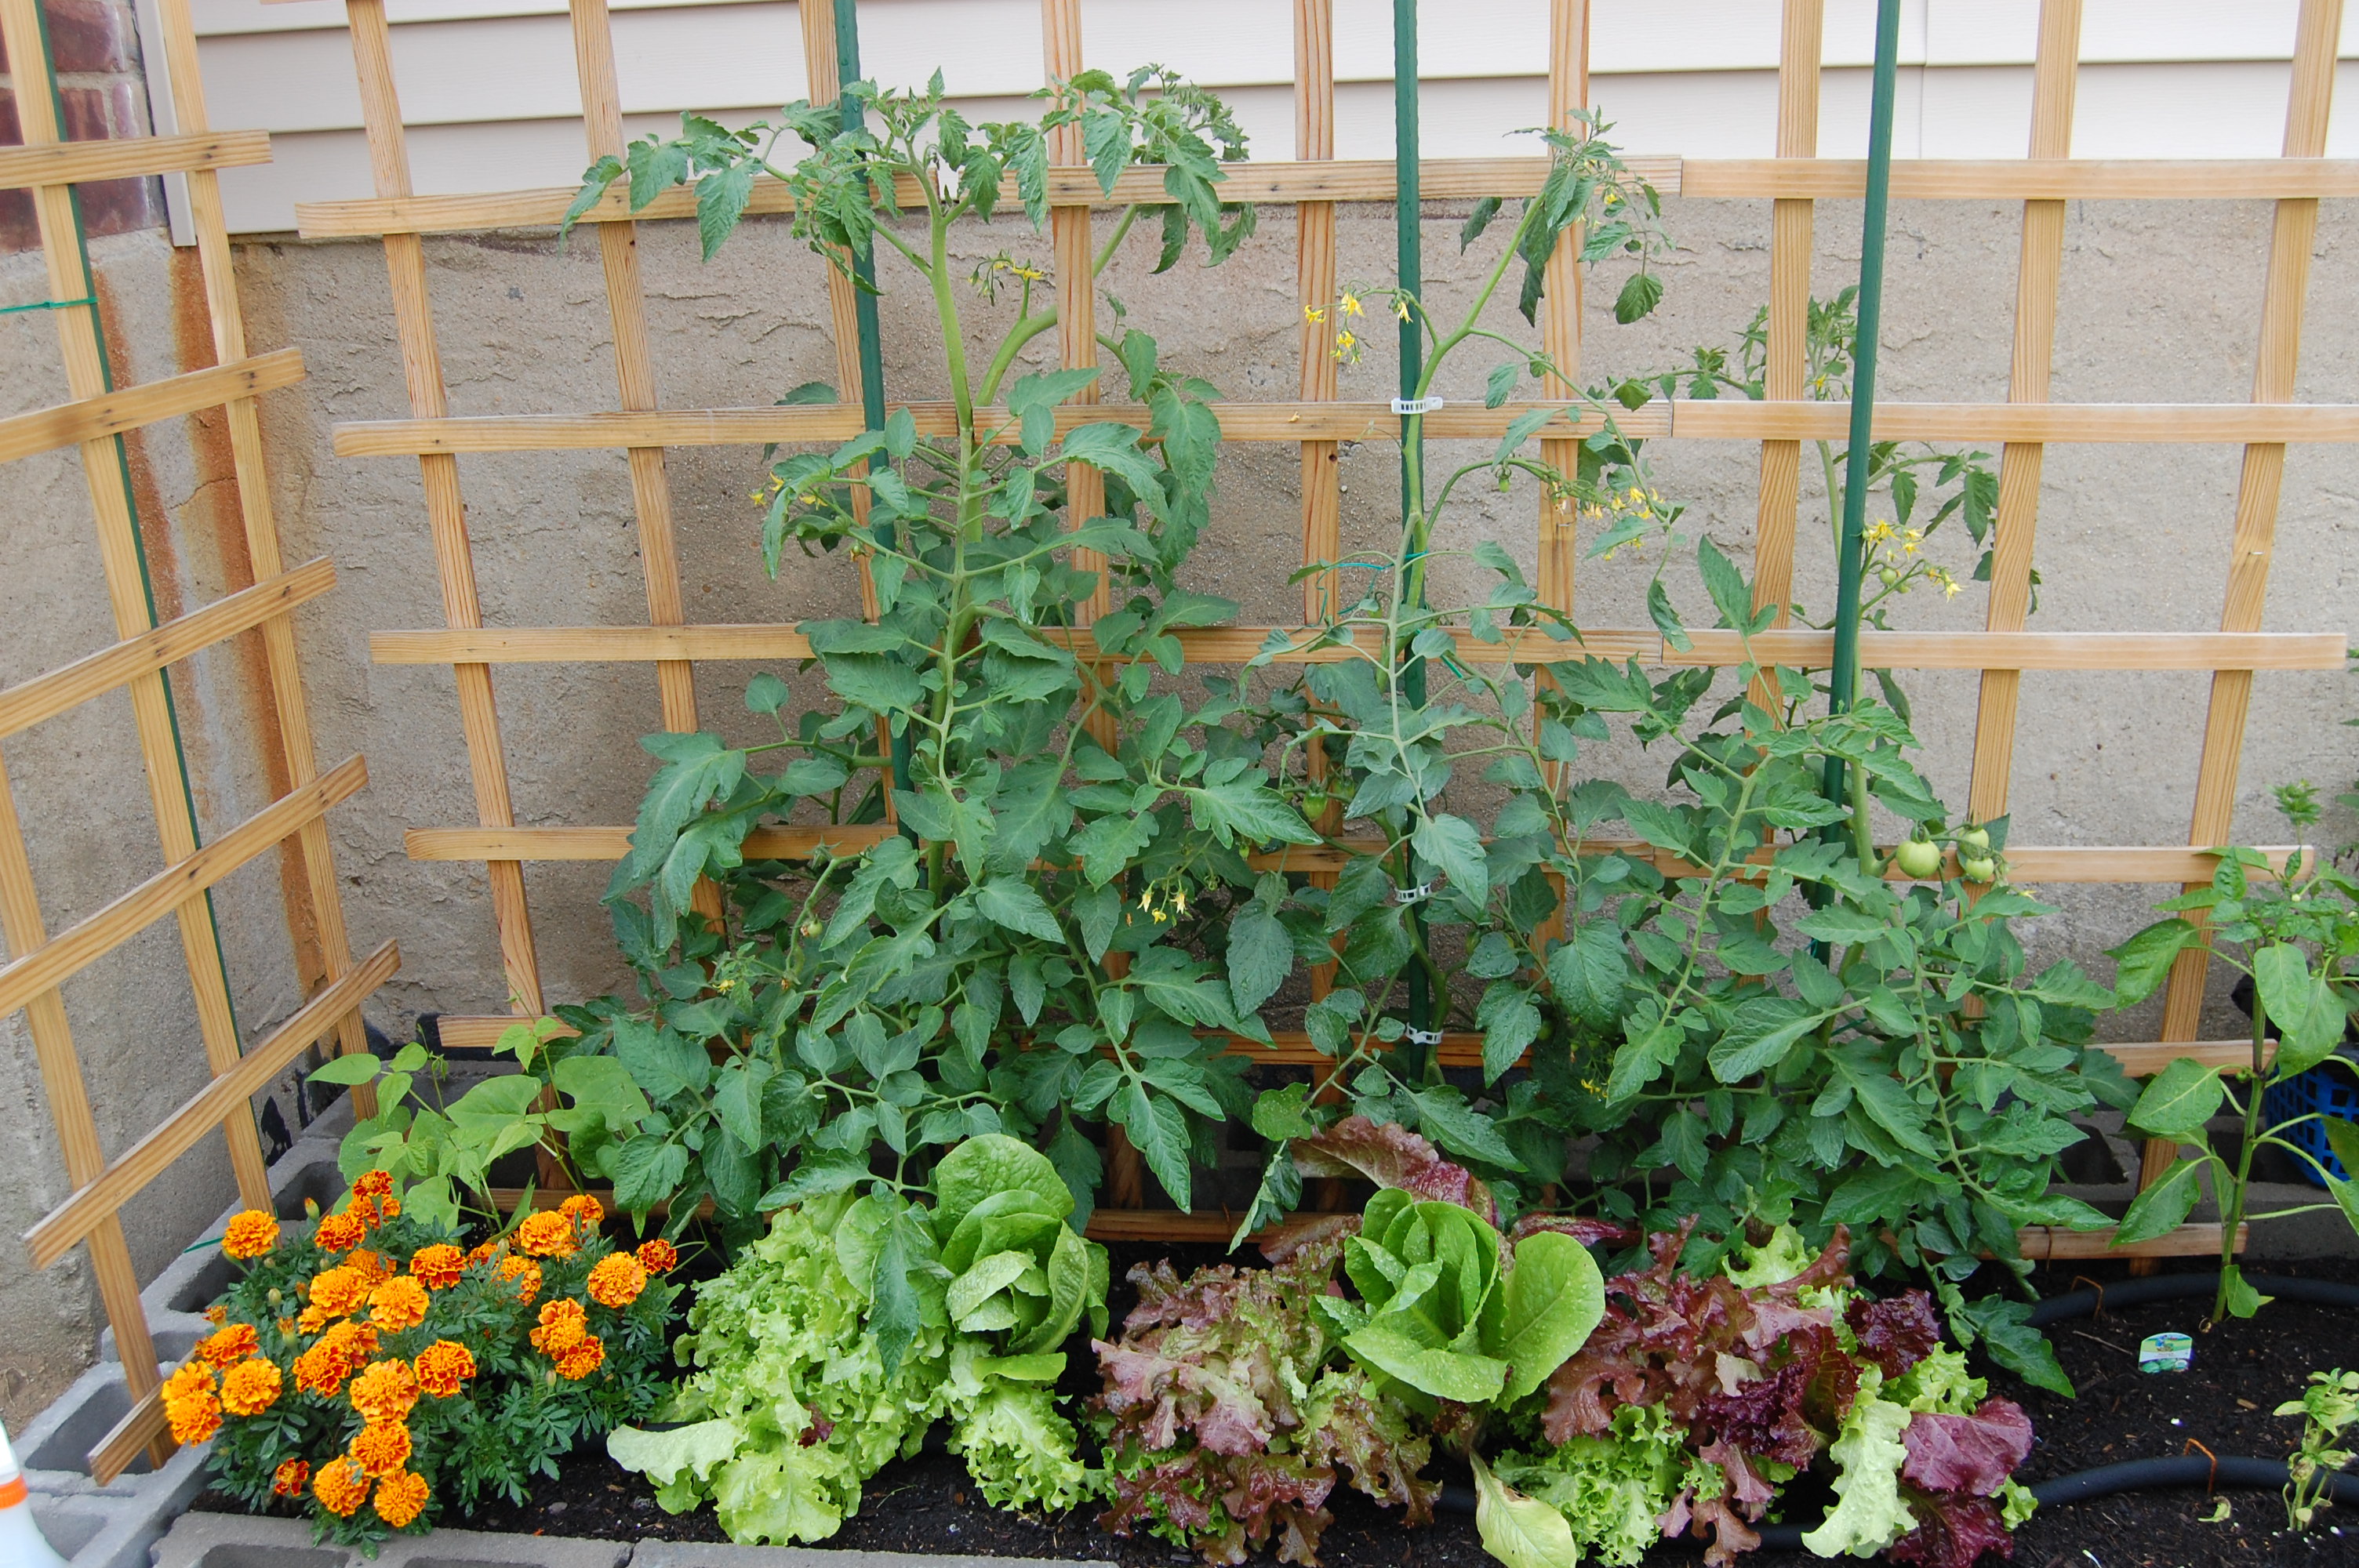
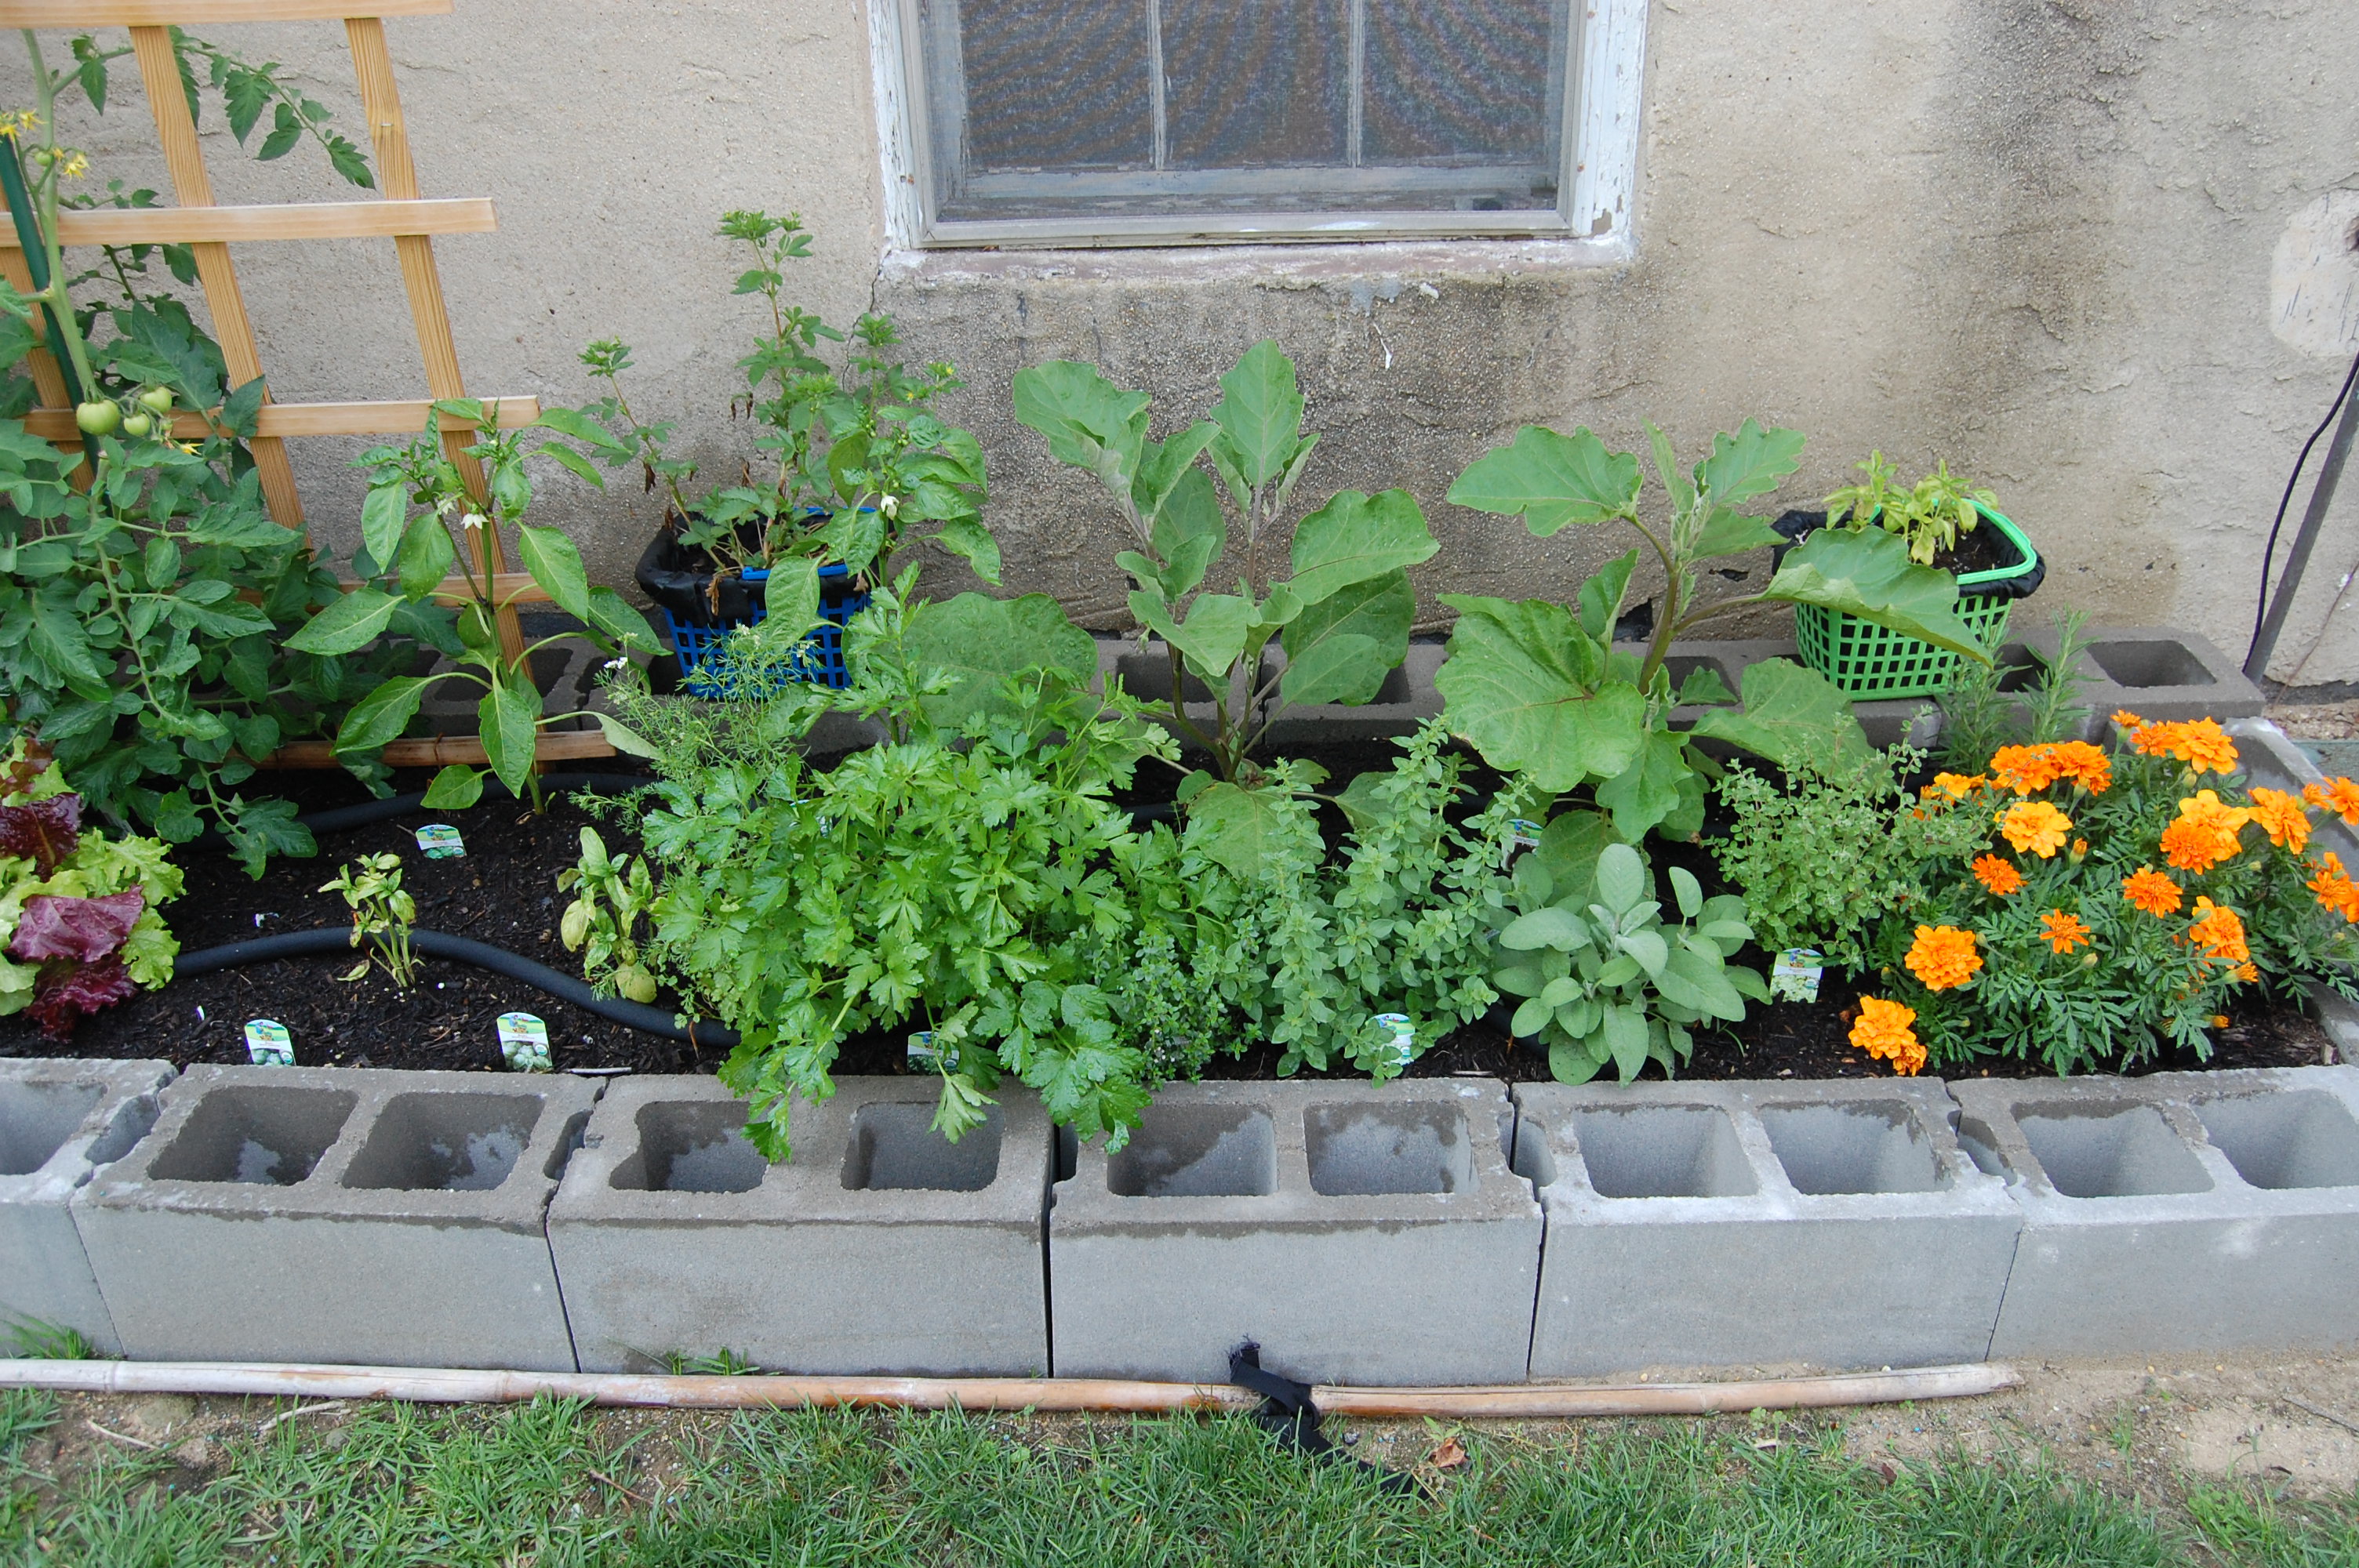
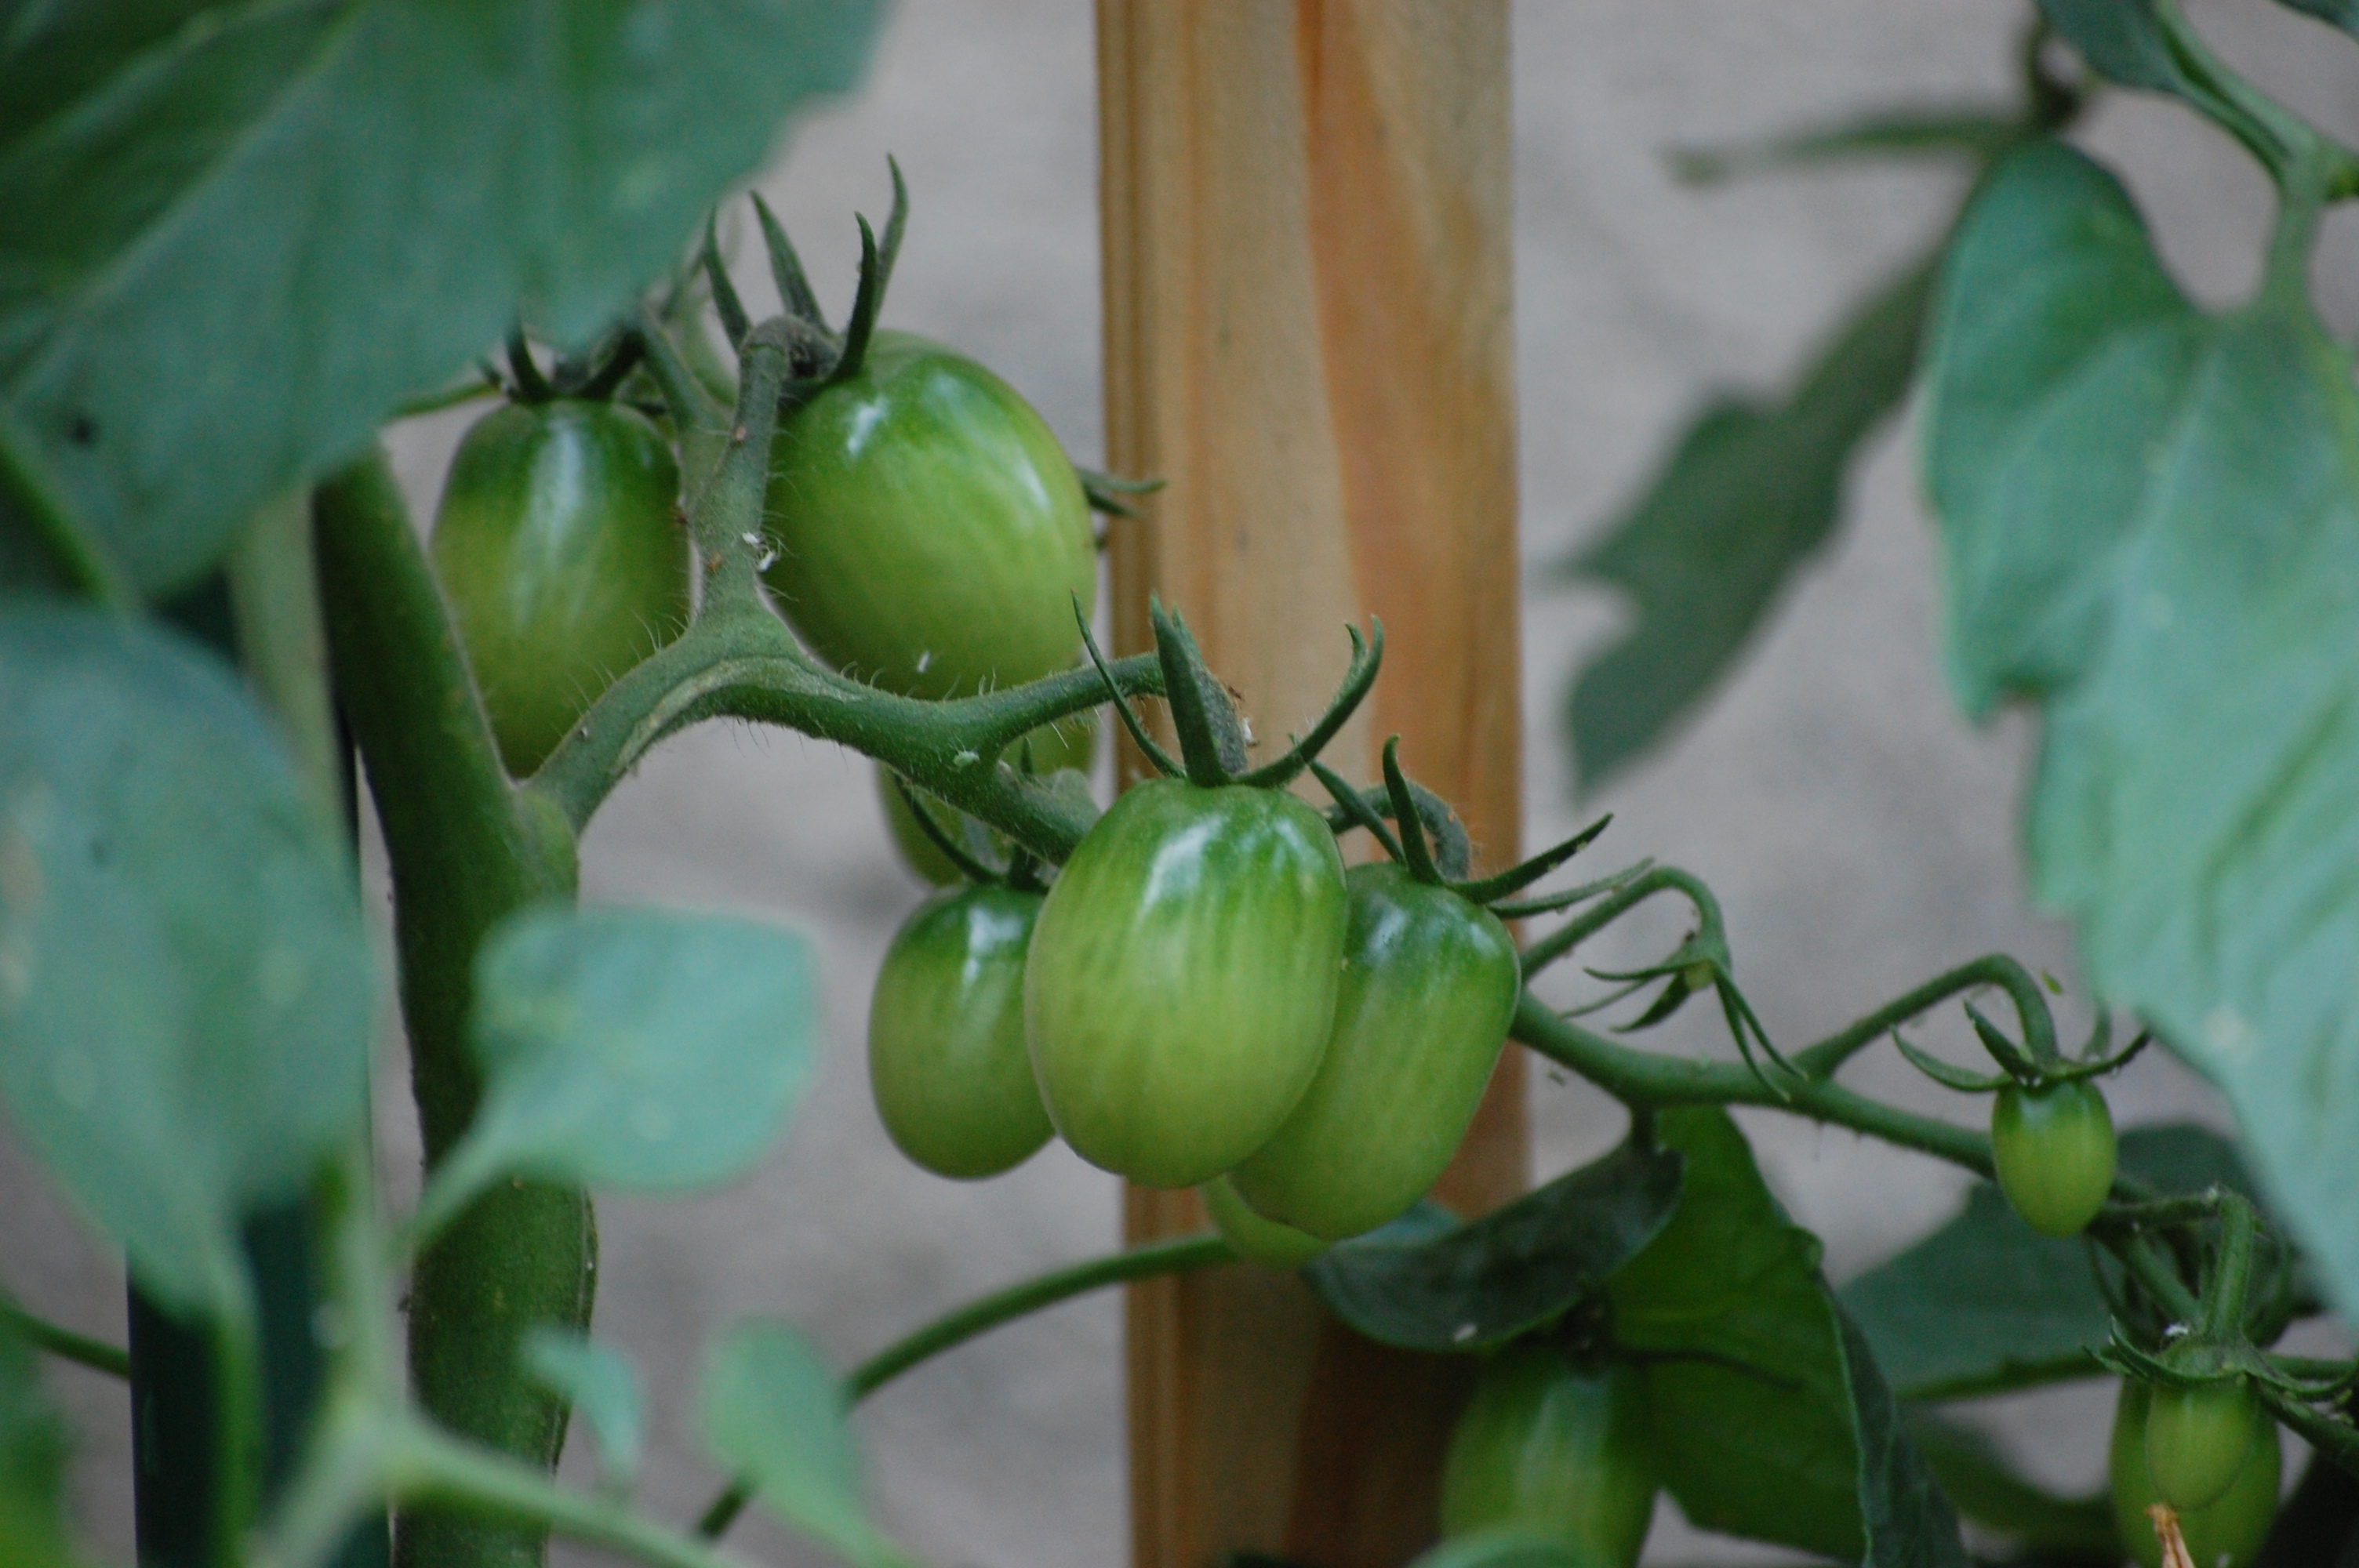
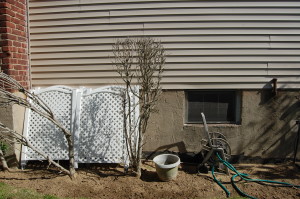
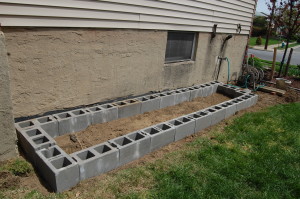
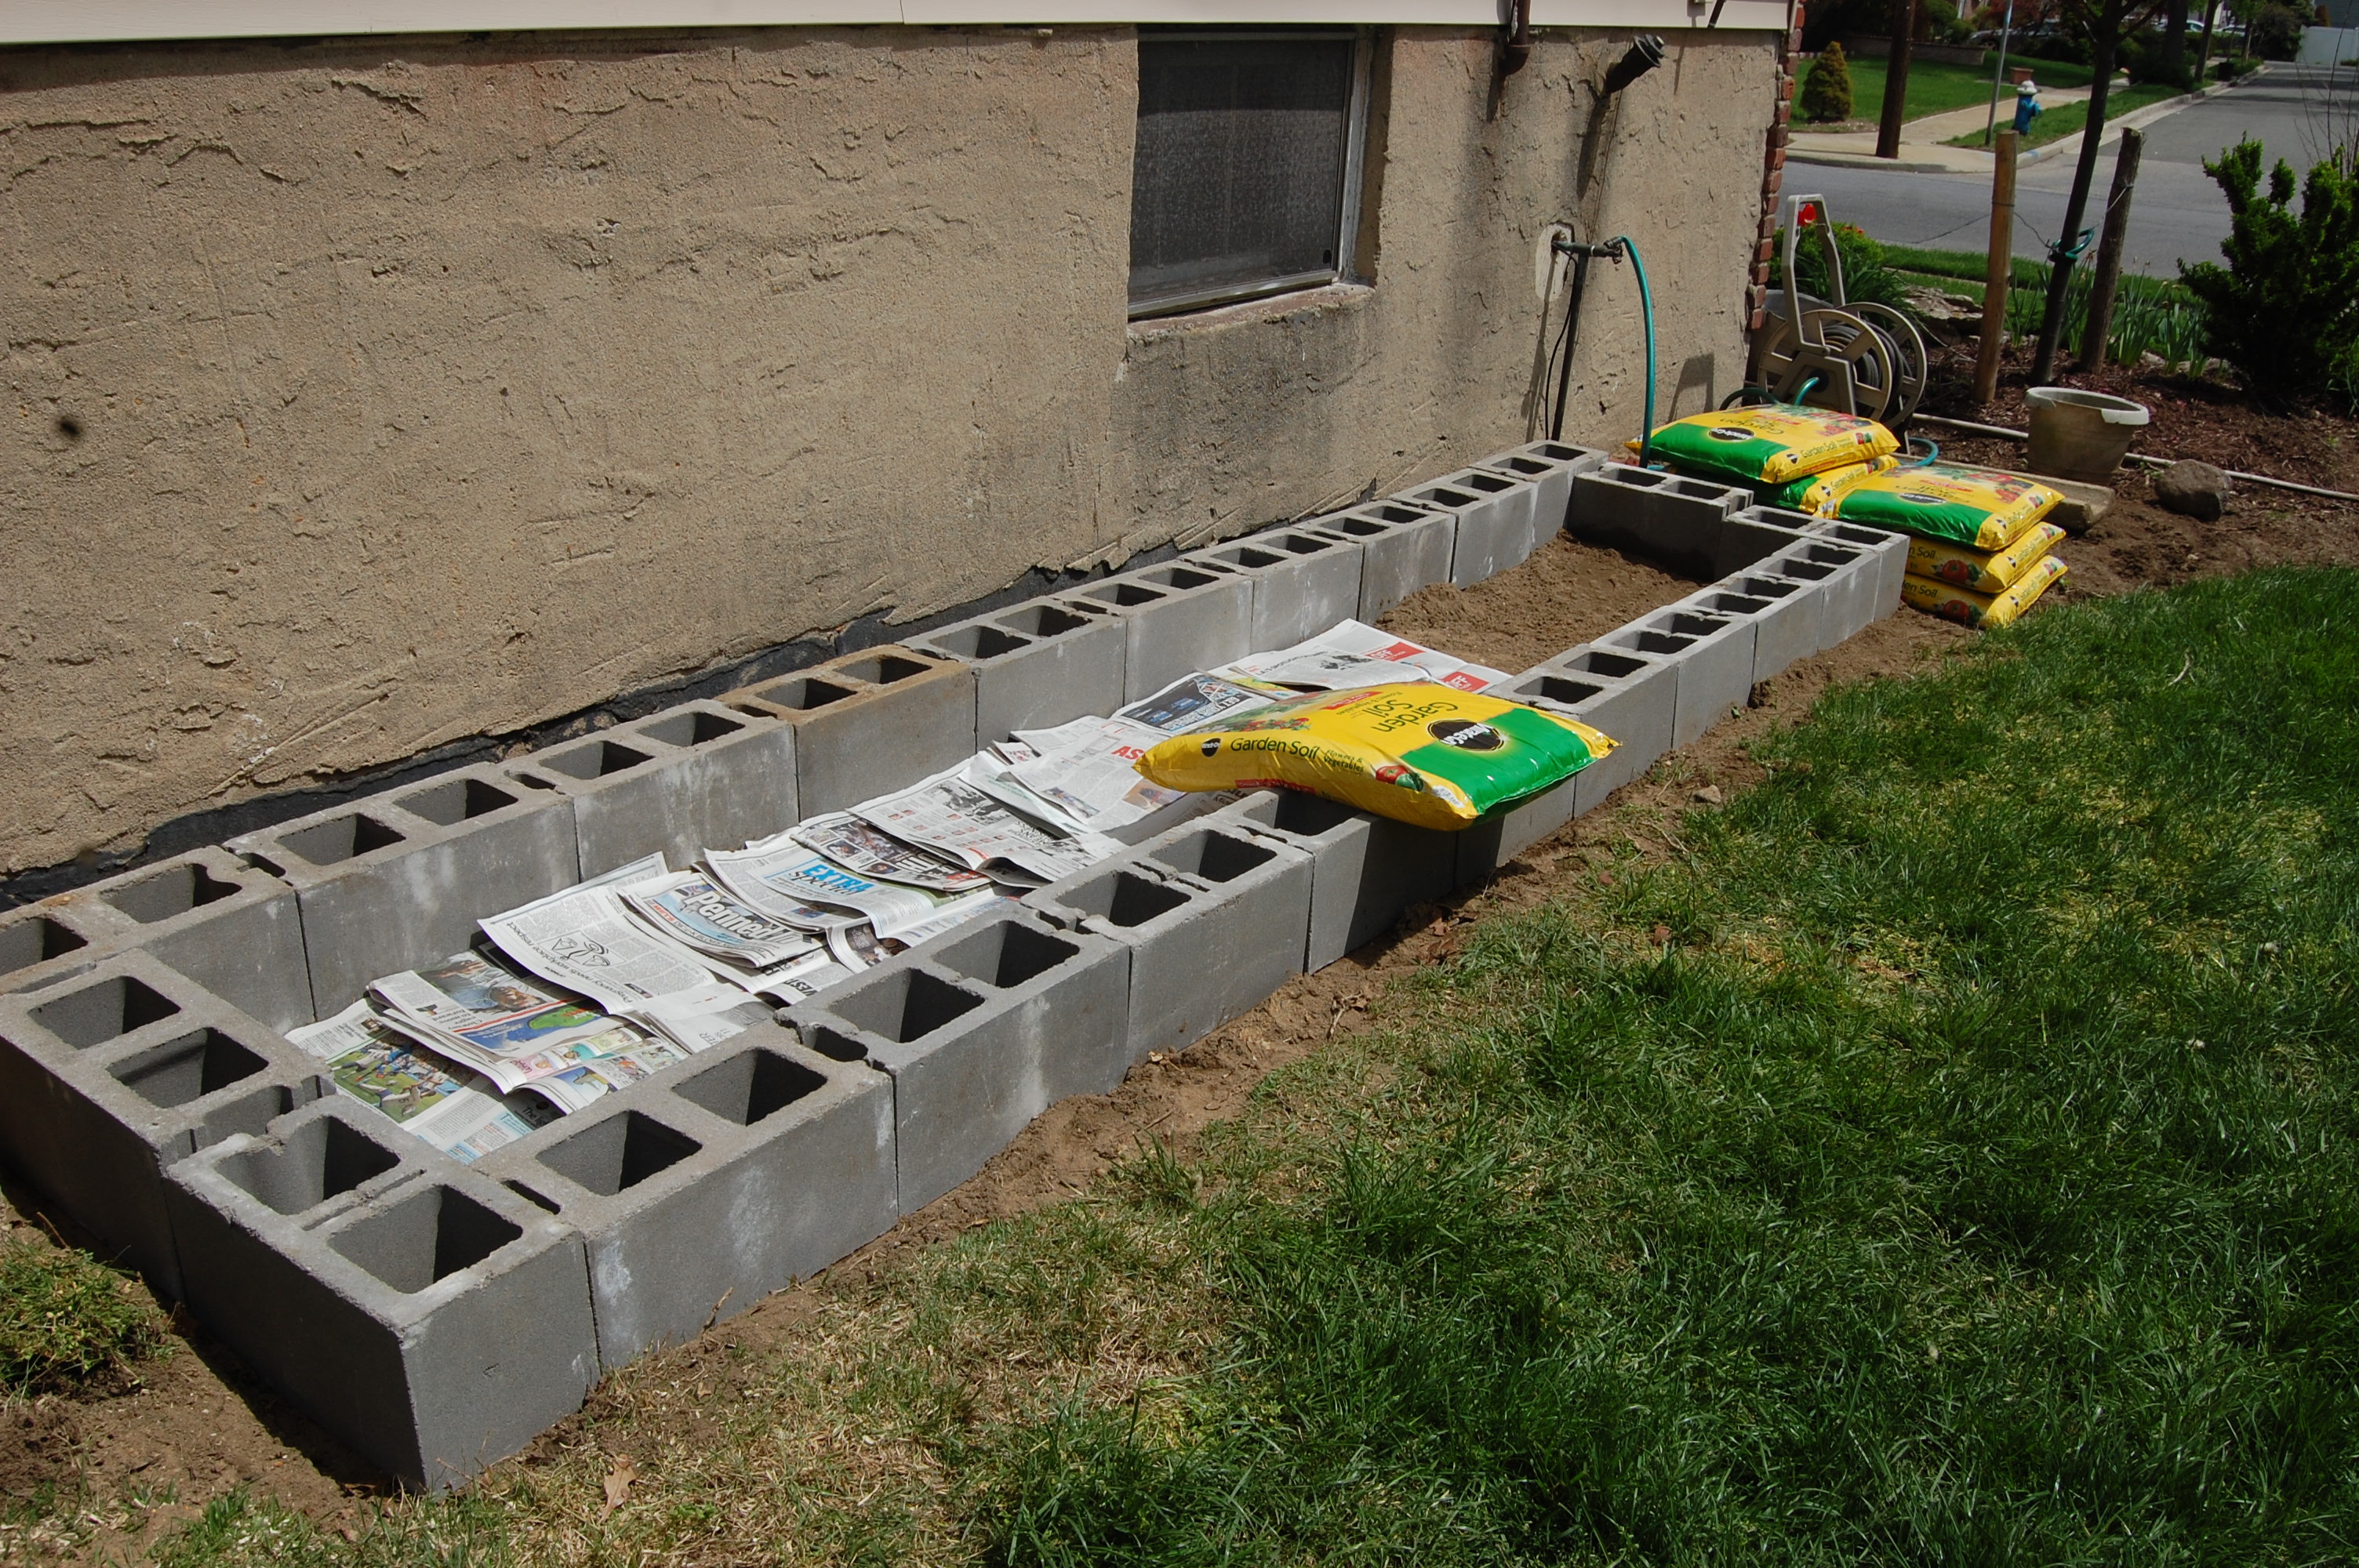
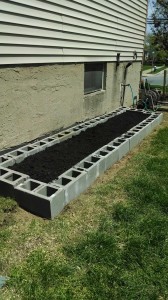
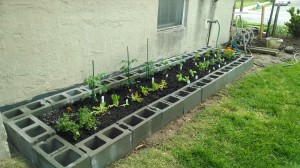
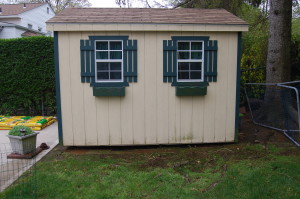
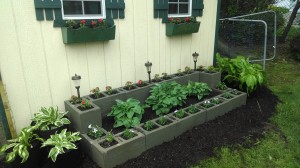
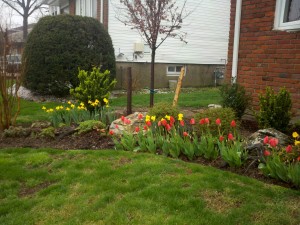
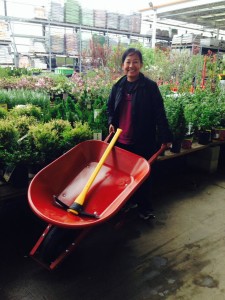
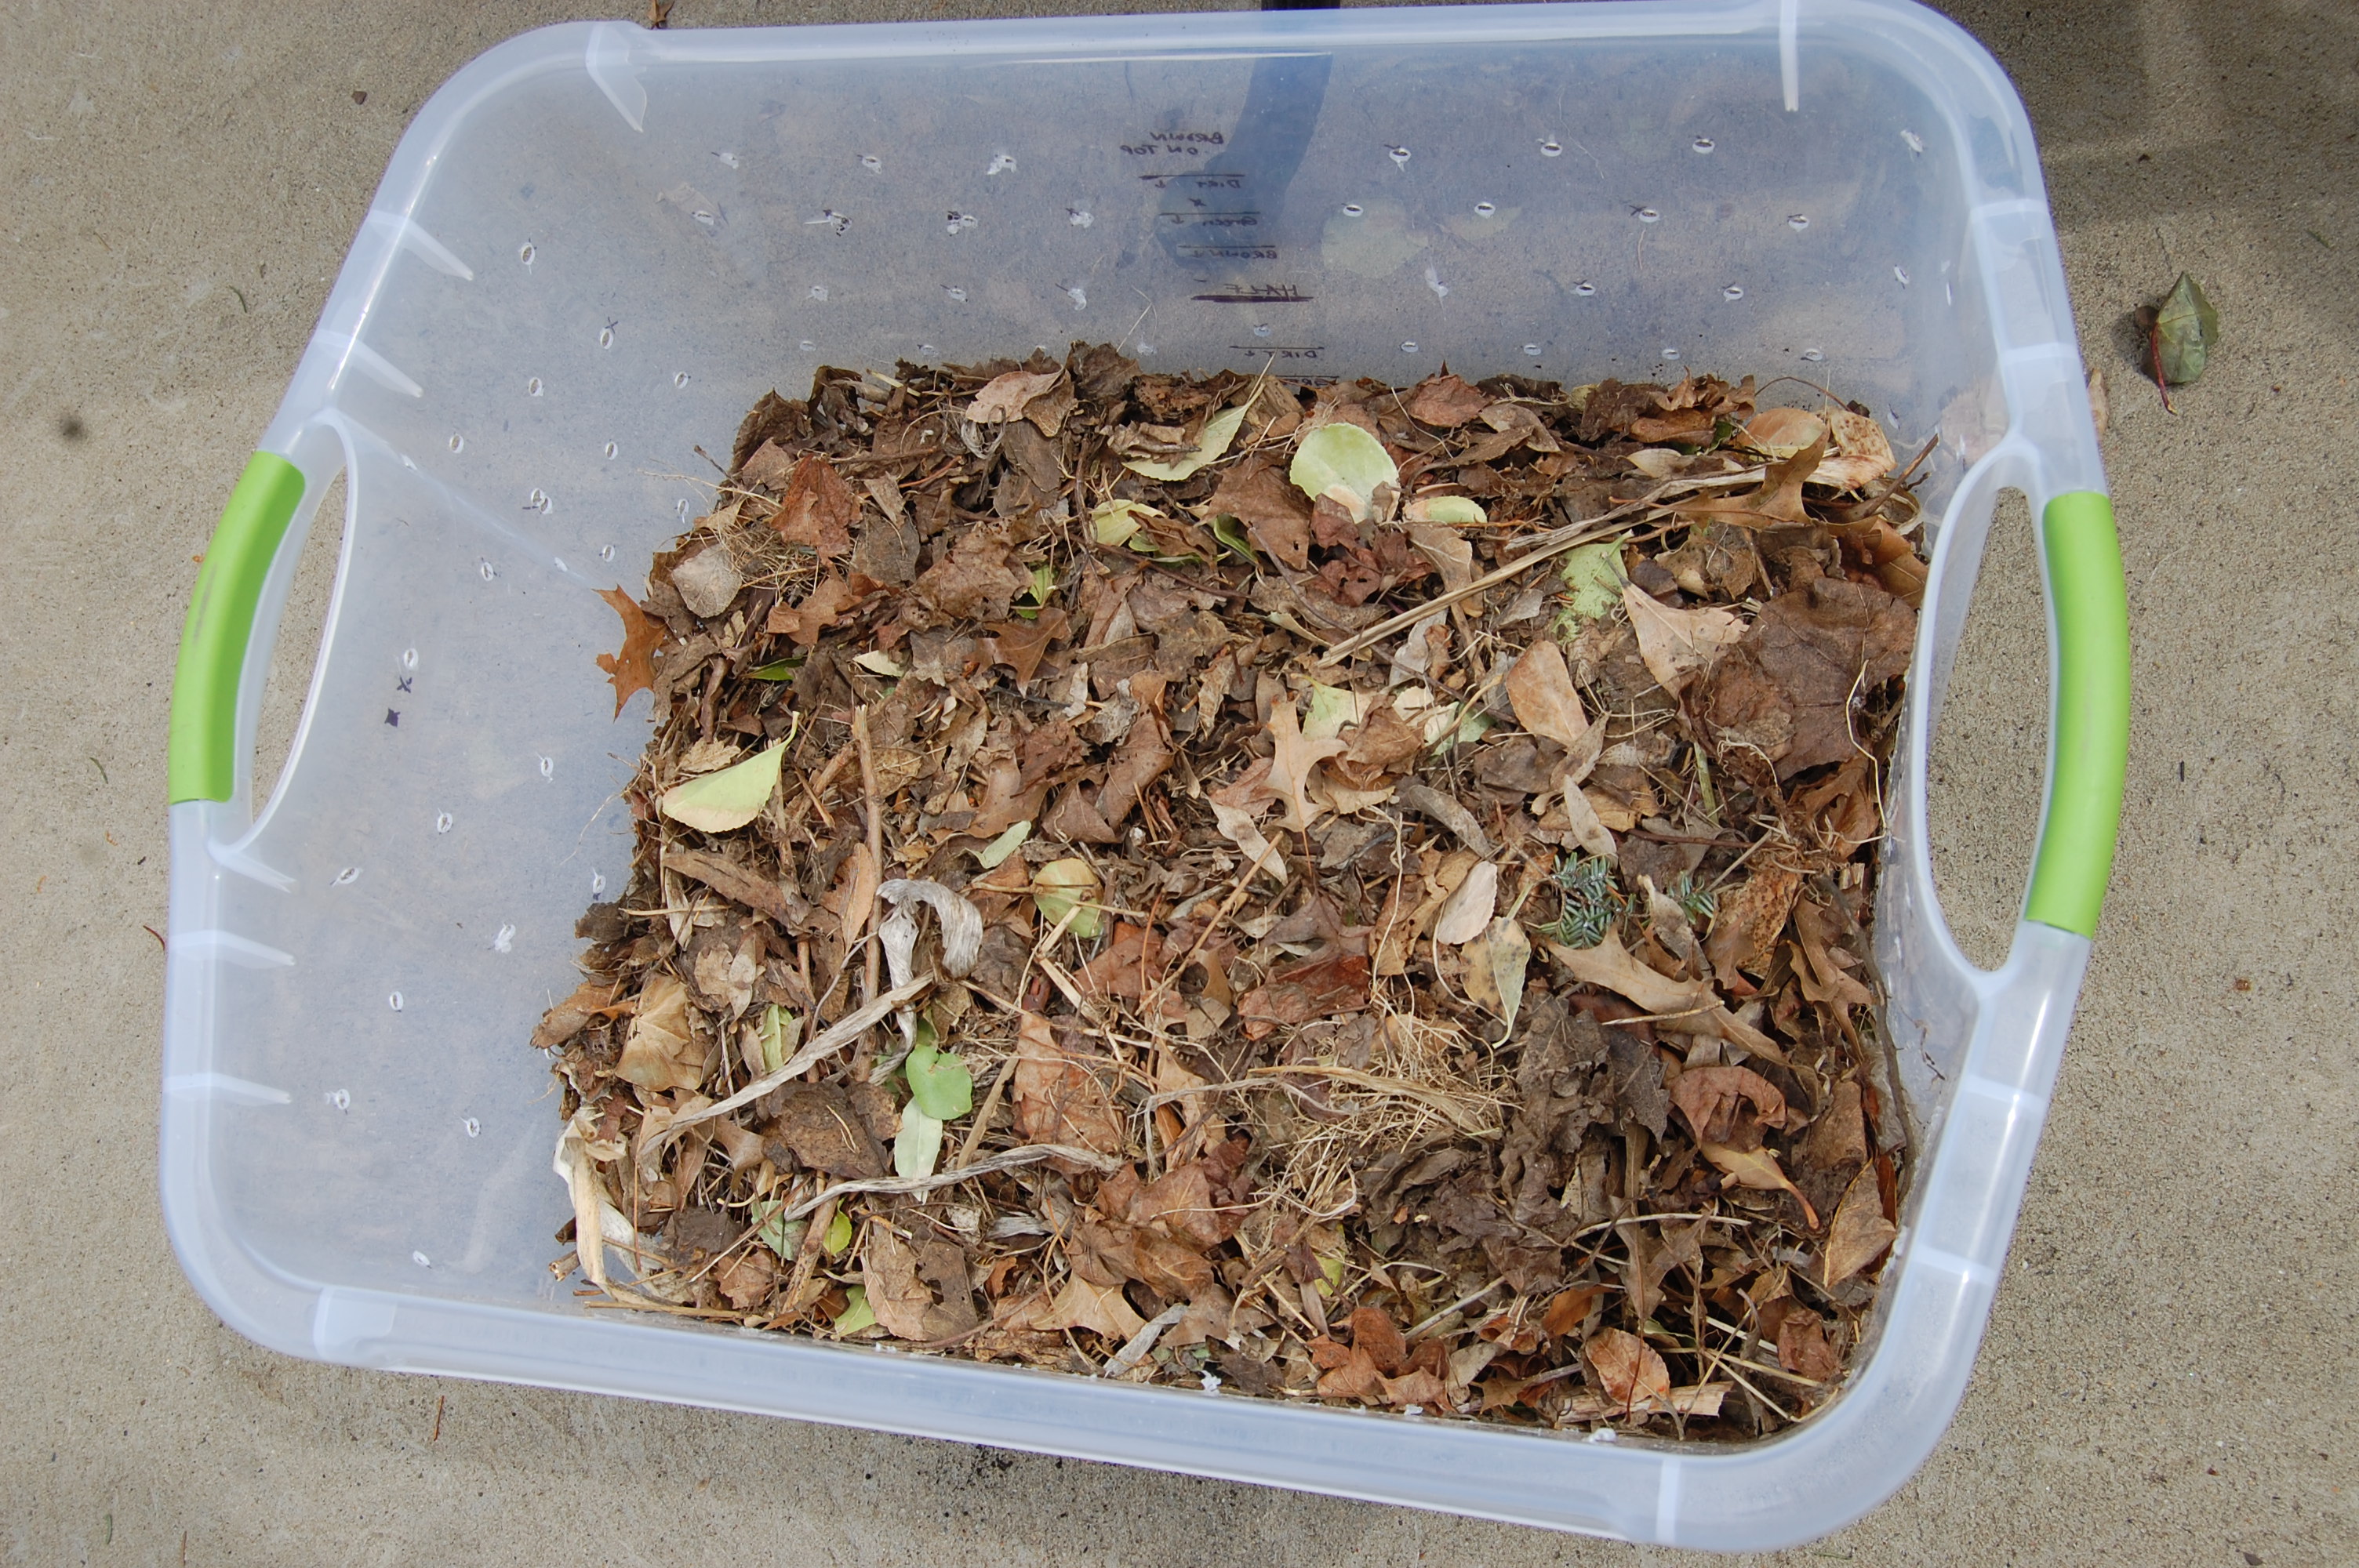
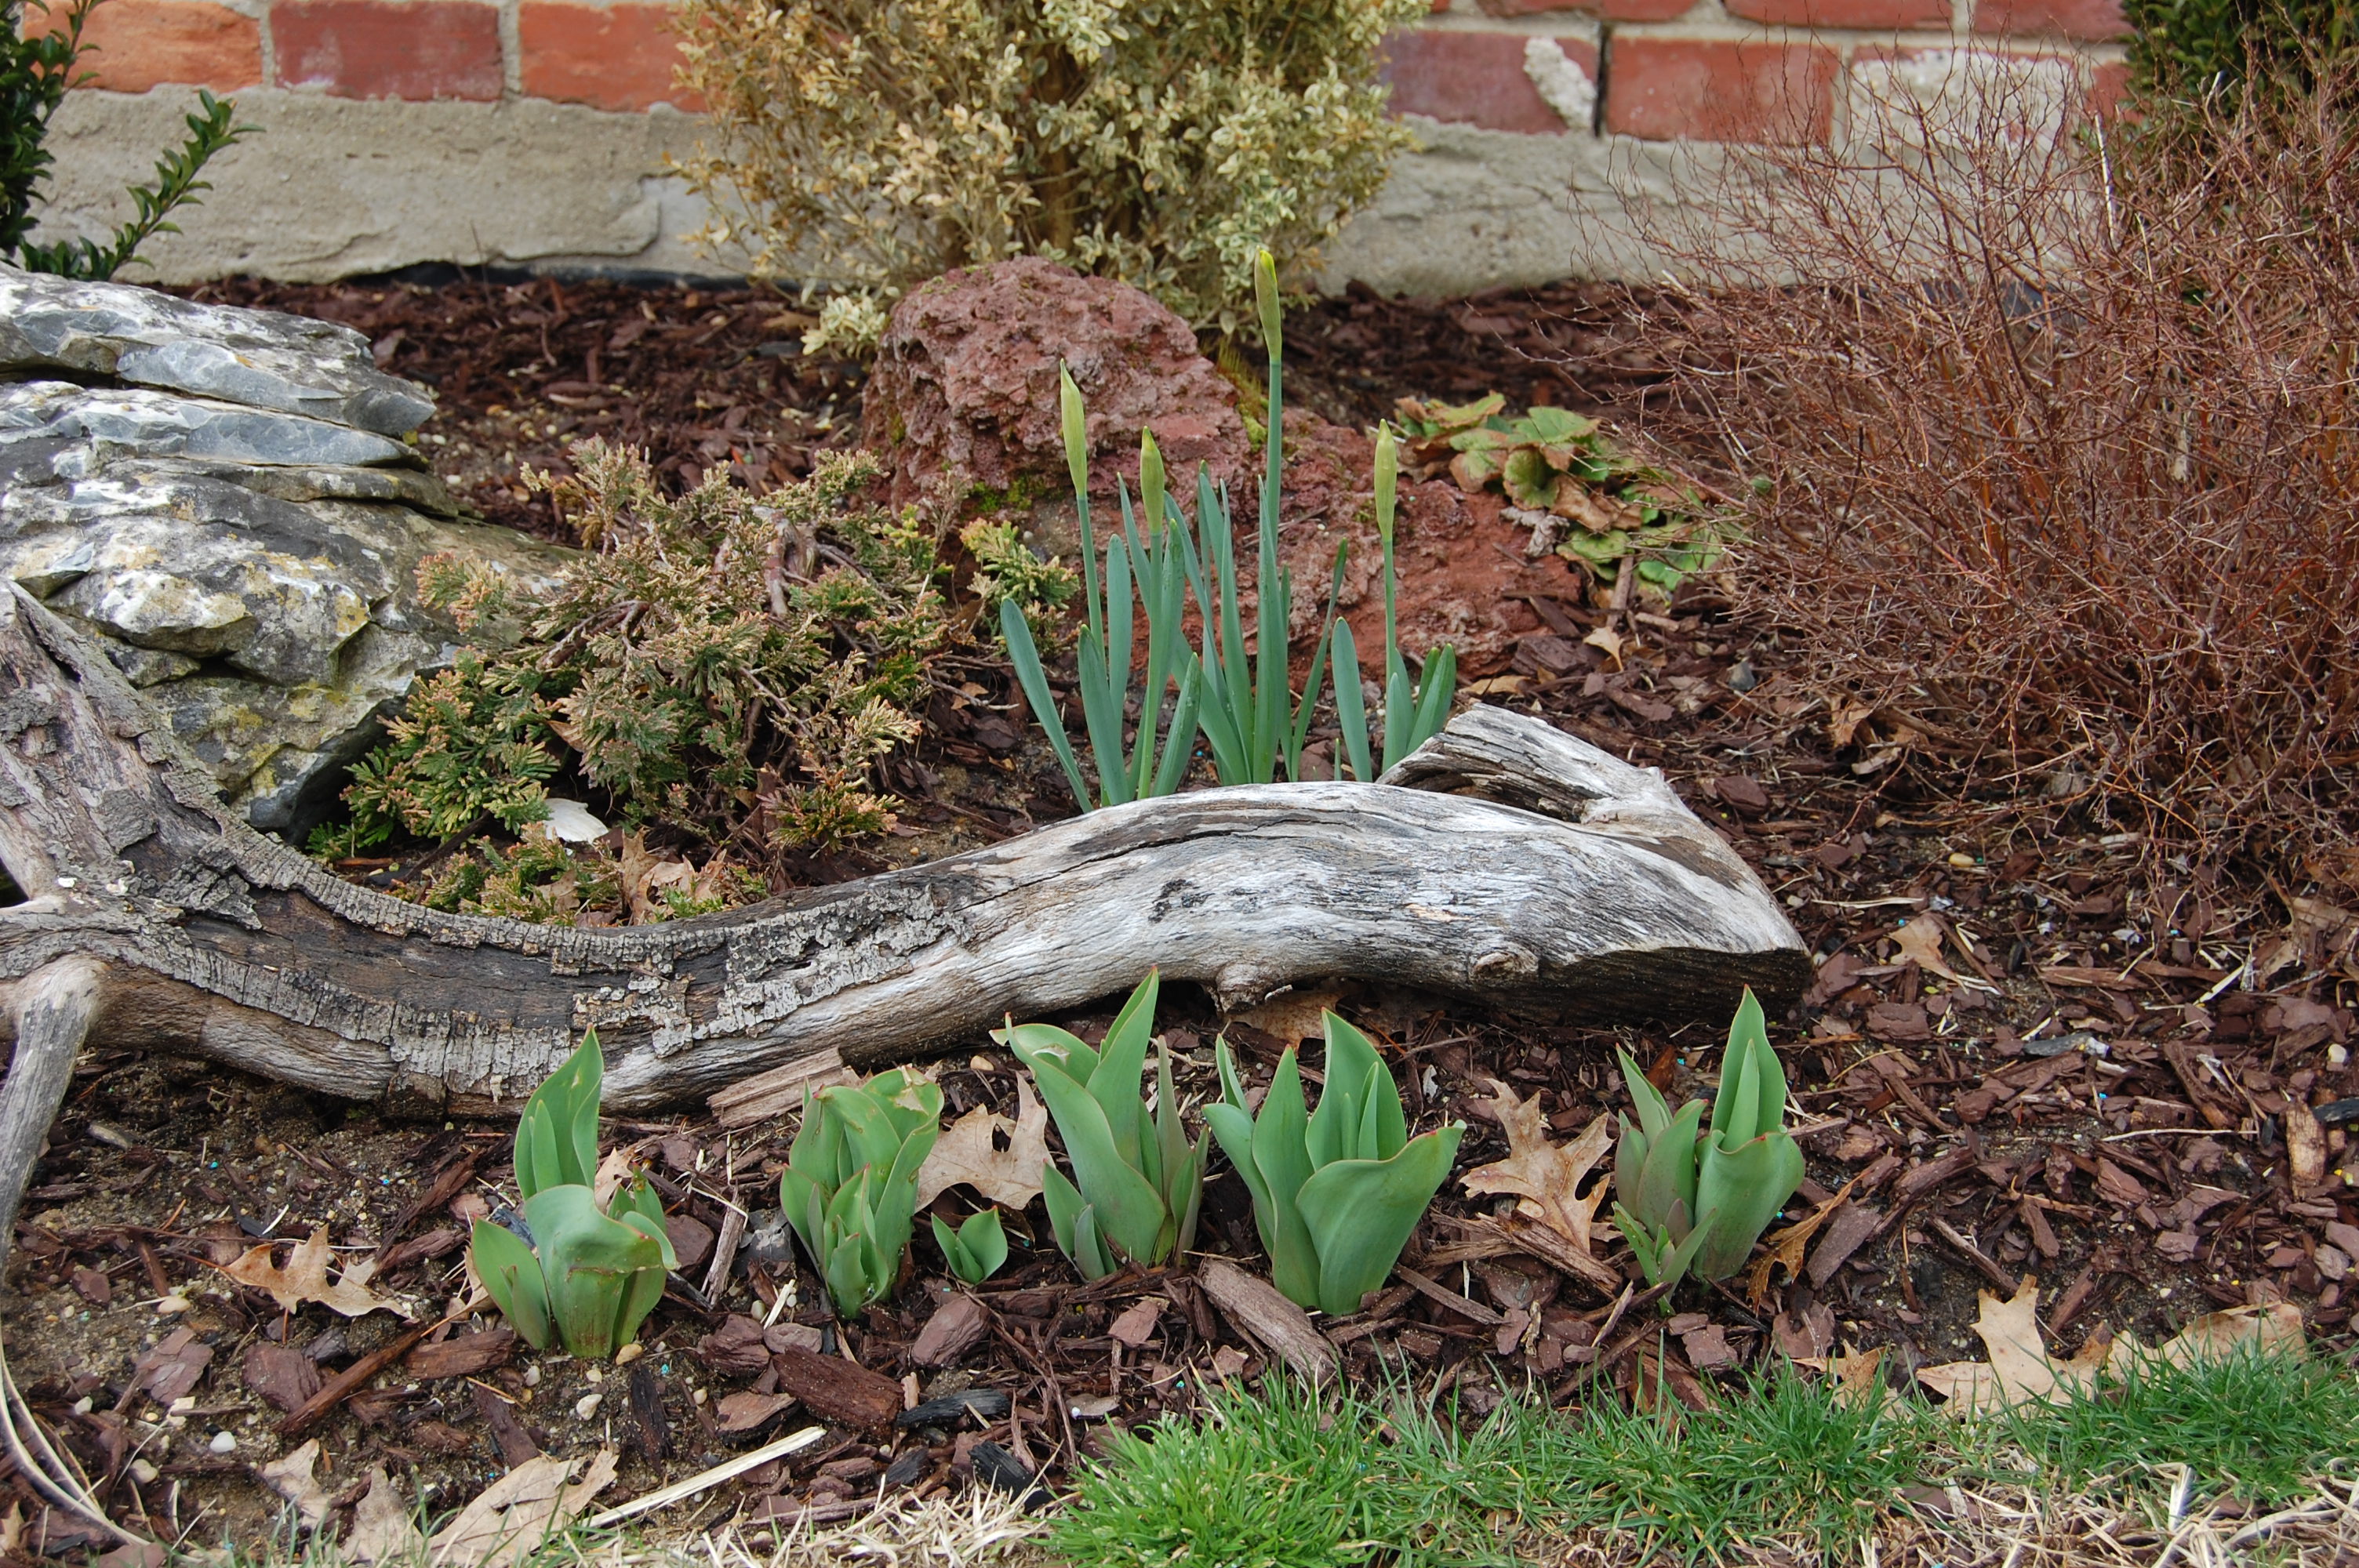
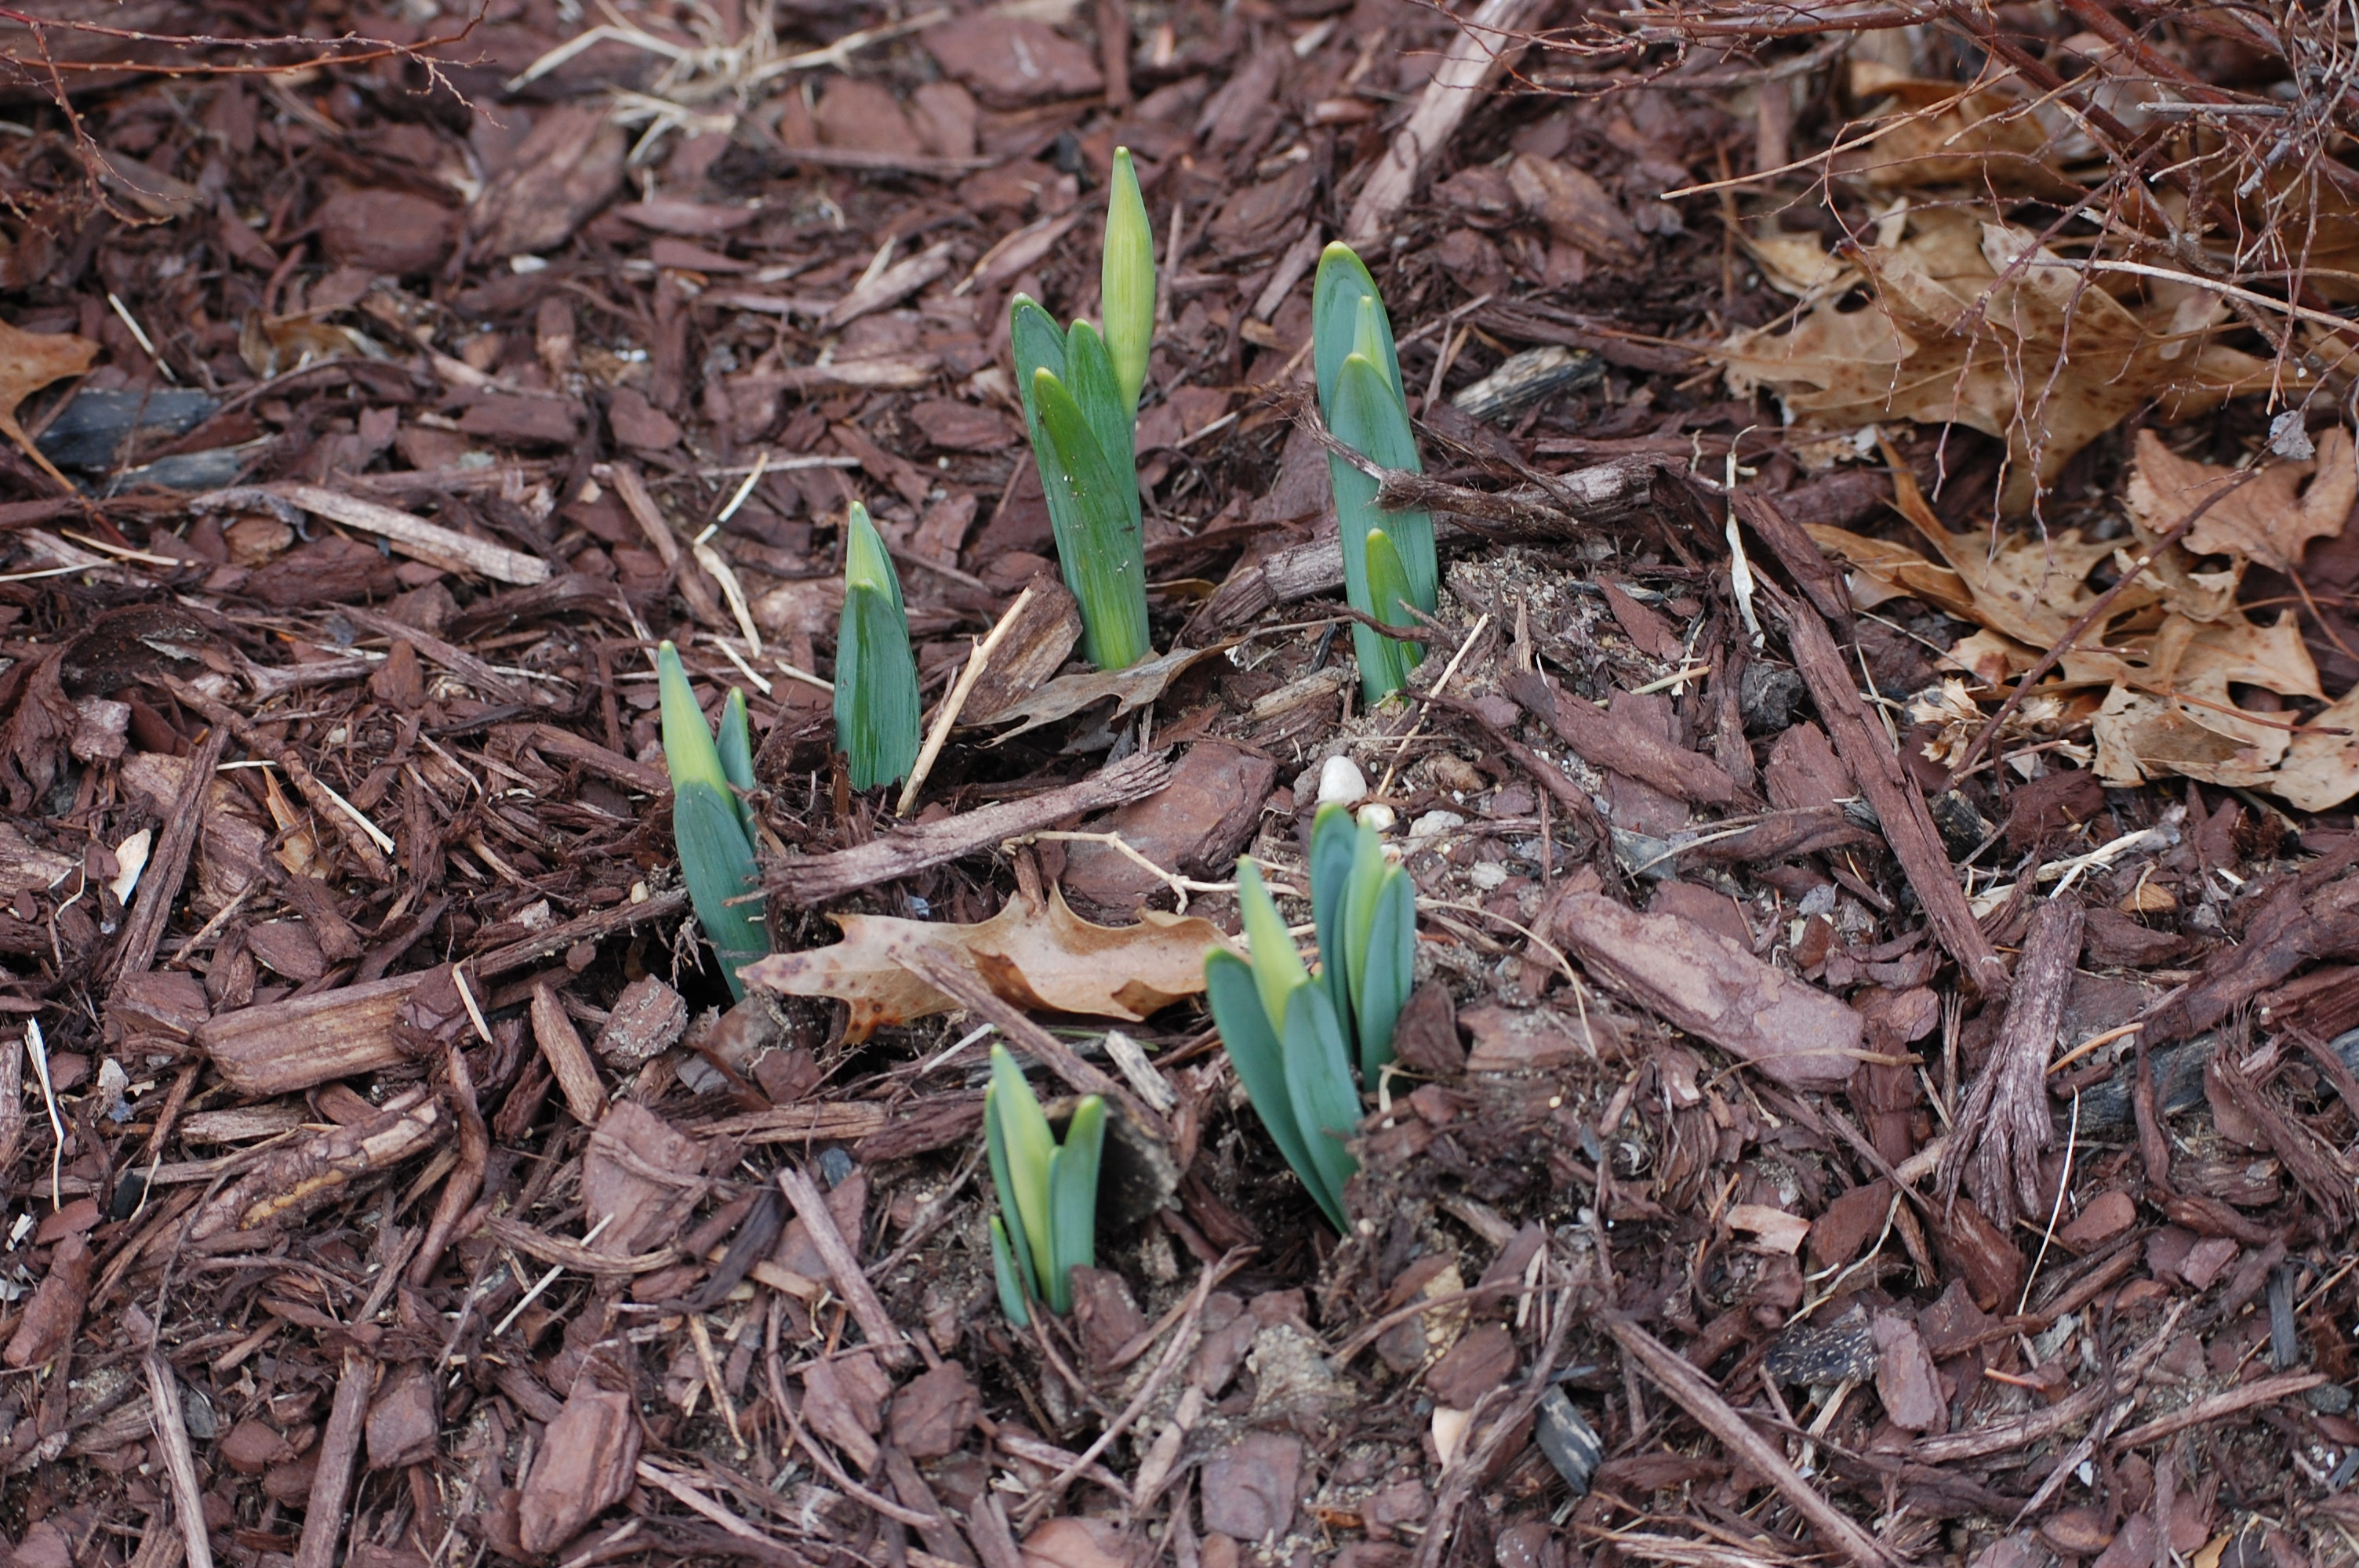
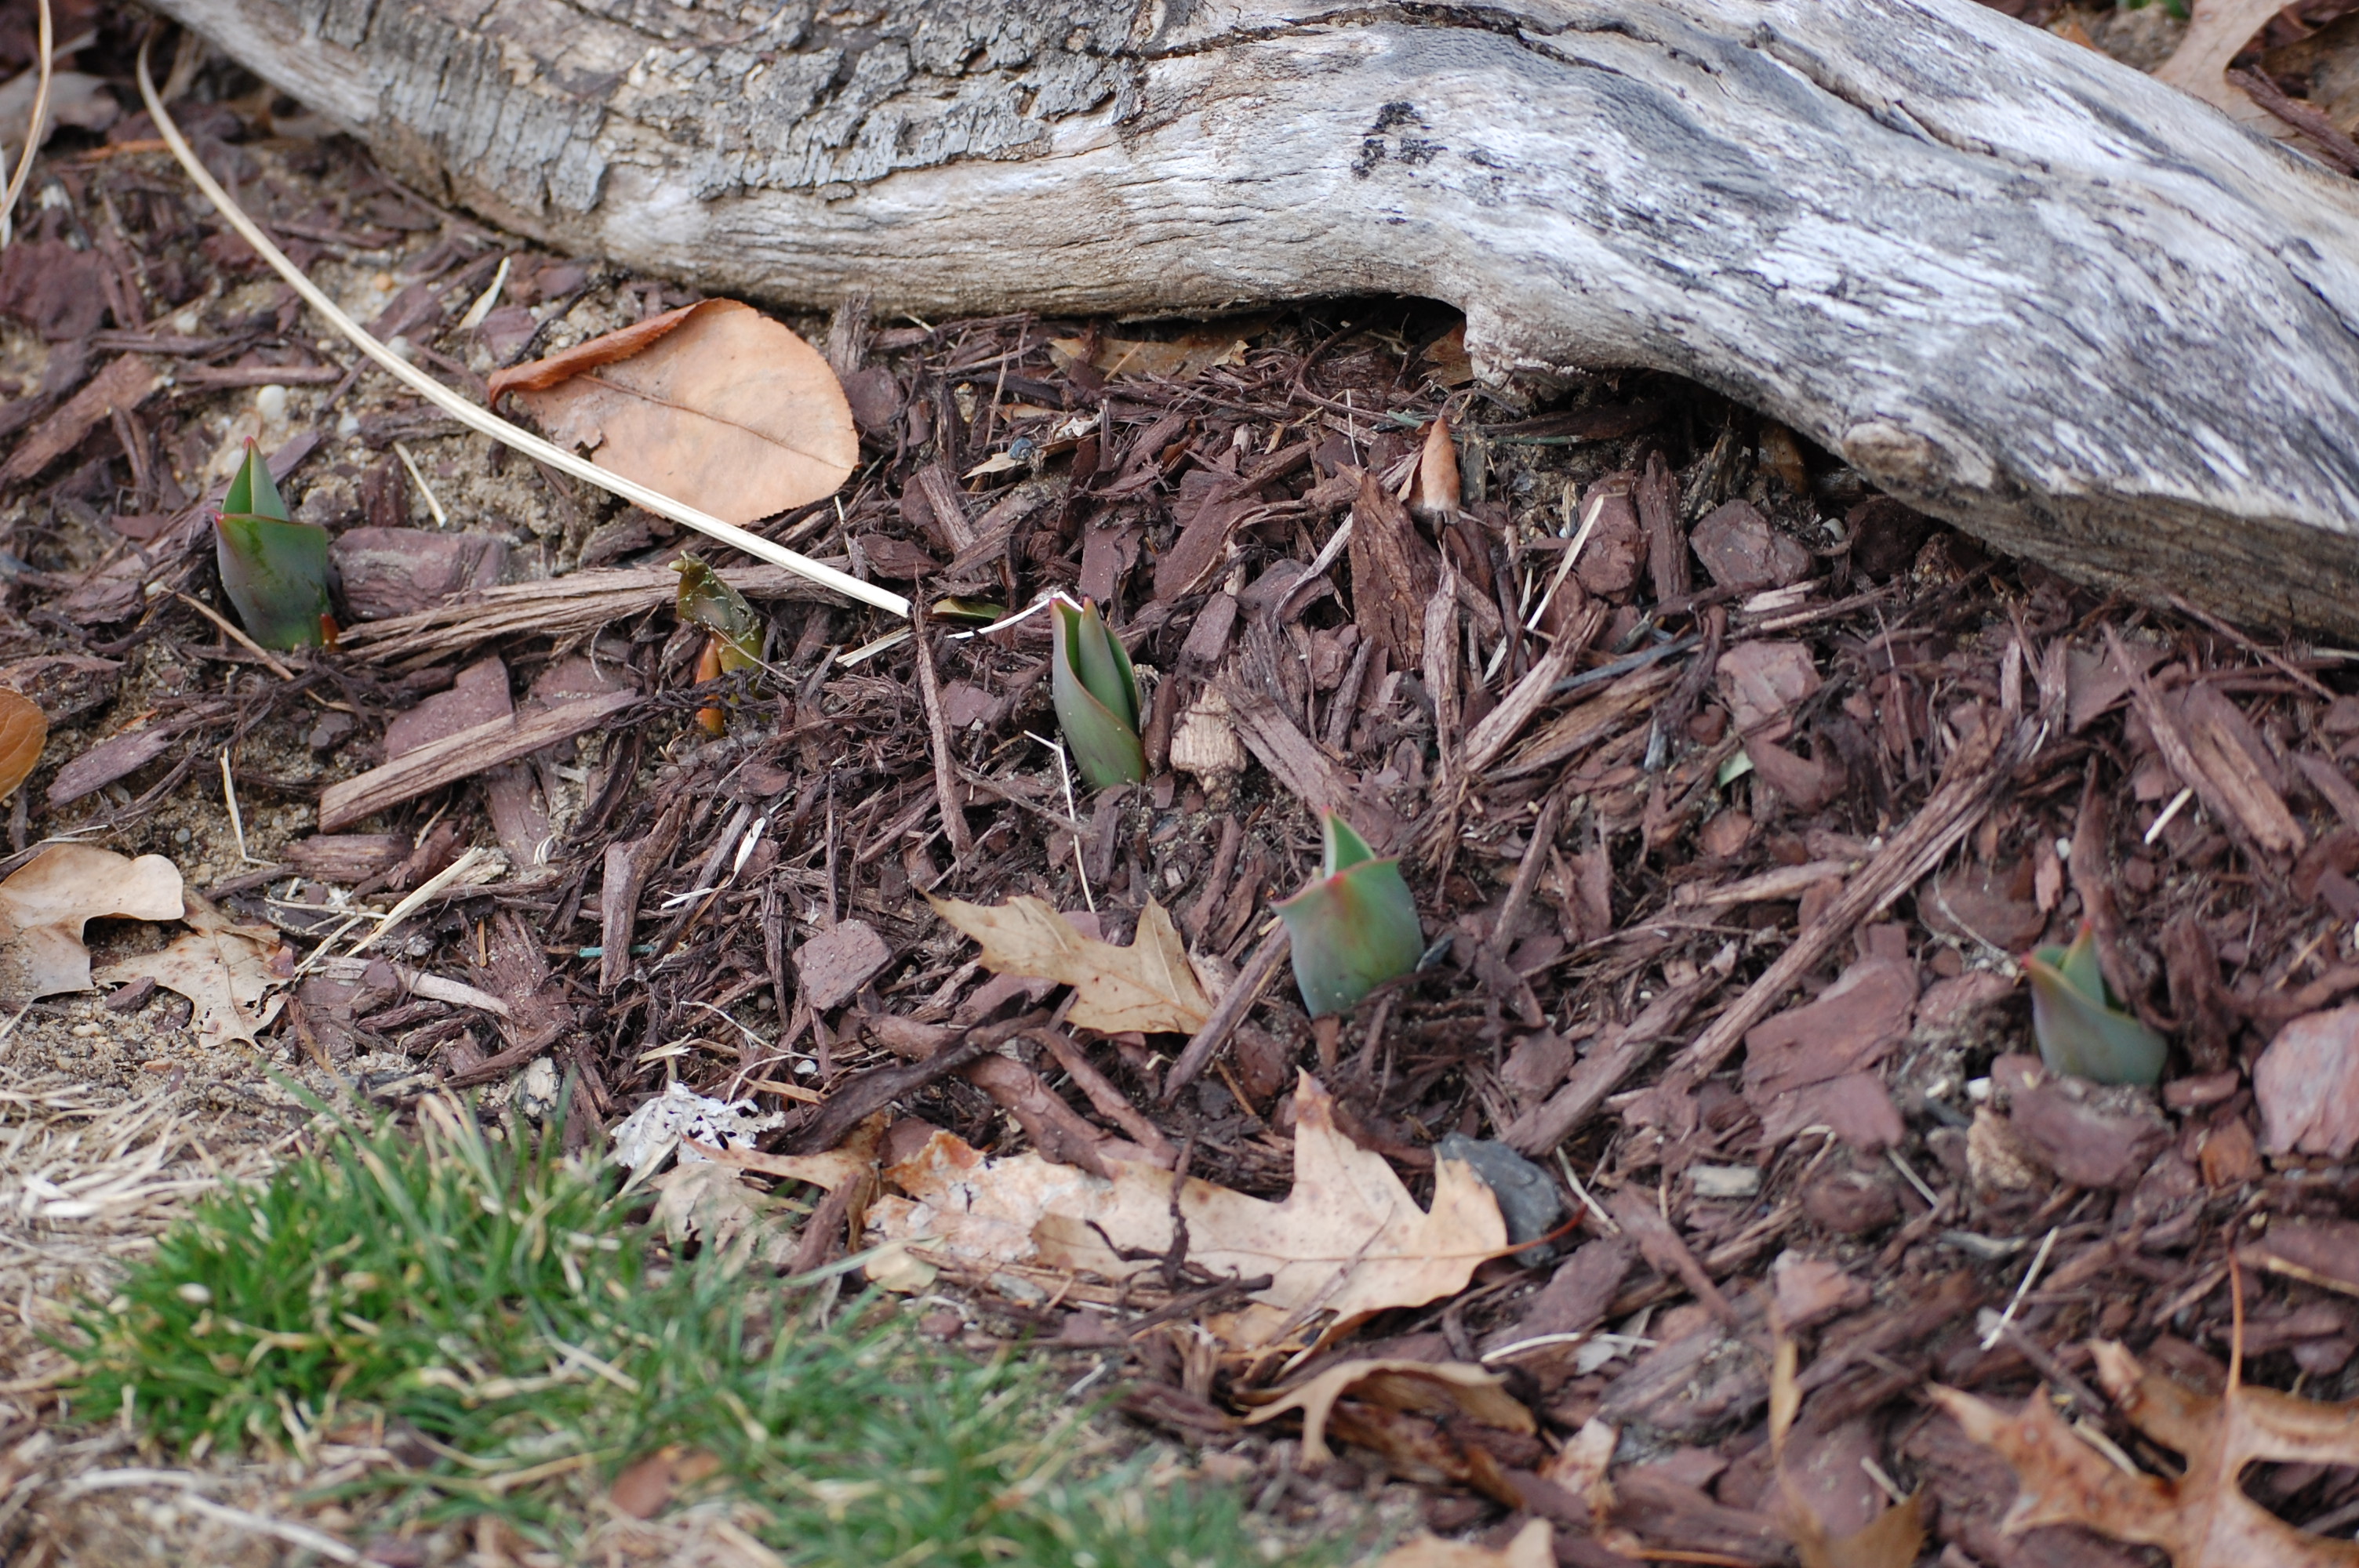
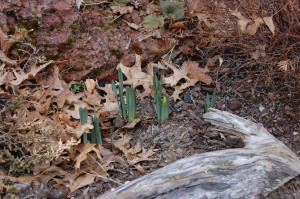
1. I love working in my garden. YES, I stress out about what to plant, when to plant, and what bugs might eat the plants…BUT, I also love sketching new plans in my marble notebook, seeing buds peep out from the soil, harvesting lettuce for a salad, and sharing my “crops” with my sister. Starting my garden last Spring took a lot of time, but the whole process was so rewarding. I learned I really love to garden.

These first daffodils of 2015 peek out, despite the snow flurries today.  Spring must be near!
These first daffodils of 2015 peek out, despite the snow flurries today. Spring must be near!

2. I love trying to be a minimalist.  My house is filled with 16 years of stuff that I’ve bought, saved, or inherited. This past year, I started small with my closet. From there, I shredded old bills, letters, and kids’ school paperwork from several years. I’ve thrown away most of the “one-day-I’ll-fix-this” junk in my garage. My basement and garage are still filled, but it’s easier deciding what to toss. More importantly, I avoid bringing new junk into the house. I hope to show you the progress I make with my basement this summer.

3. I love taking time for myself again. When the kids were younger, I read their books, watched their shows, and planned their activities. Now that they are more independent, I love spending time on me. Cliché, I know.  But it’s really fun. I read (and finish) books. I watch scary or adult shows. We’re busier than ever, but now I feel good about making time for myself…and I feel healthy.

So…would I have done all of this anyway, without a blog? Possibly. But writing about my projects motivates me to actually follow through with them.

With each post, I get braver. This blog is scary to maintain. I easily talk myself out of new posts. There’s always that voice that whispers, “who cares???” I am constantly worried that something will crash and that the blog will just vanish into thin air.

But still, here we are, one year later.

As the blog grows, I will share better photos — thanks to the things I will learn from a photography class I’m taking.

Bojangles (March 2015) - the photography teacher says to get down to the level of my subject.
Bojangles (March 2015) – the photography teacher says to get down to the level of my subject.

I will also try to improve my writing using the tools that I’ve learned from this mini-course called, “Define Your Blog Voice,” by Daniela Uslan.  It’s quite a leap for me to join a facebook group and get feedback from strangers.

A special shout out goes to my sister, mom, husband, and kids who indulge me by reading and commenting on all my posts. I am also thankful for my readers who occasionally drop in to say hello.

Happy Birthday to www.cozintransit.com! Please feel free to comment and share your thoughts with me!

Takin’ Out the Suckers

In order to produce the best tomatoes, I have to take out all the suckers.

Not suckers, like the ones from this D-Nice song…But tomato suckers, shoots that grow between the main stem and a branch.

If left to grow, suckers might steal energy from the main fruit, and you’d get a bunch of mediocre tomatoes instead of some really good ones.  For a more reasonable explanation, go here.

There’s discussion on whether you have to take out the suckers. The square-foot gardening method takes out the suckers to keep the tomato plants from spreading too wide and taking over the rest of the garden.  Who knew three tomato plants would require so much work?

Little sucker growing between main stem and branch.

I watched several videos while looking for ways to stay sucker free.

My Square Foot Garden had the best video of how to remove the suckers.

Front Porch Farm gives a detailed description of how to string and sucker tomato plants.  I haven’t had any success with training them on the trellis, so I’ve just been tying the branches.

I hope I’m not just hacking away at these plants.  I see lots of flowers, so there’s definitely potential.  There are lots of bugs too…but I’ll talk about that next time.

Here’s some updated pictures of my garden:

Back Row: Pole Bean (Kentucky Wonder), Tomato (Parks Whopper), Tomato (Sugary Hybrid), Tomato (Sweet Seedless) Front Row:  Marigolds and Lettuce (All Star Mix)
Back Row: Pole Bean (Kentucky Wonder), Tomato (Parks Whopper), Tomato (Sugary Hybrid), and Tomato (Sweet Seedless).
Front Row: Marigolds and Lettuce (All Star Mix).


Back Row:  Green Pepper, Red Pepper, Eggplant, Eggplant, Rosemary.  Way Back Row: Wild Strawberries and Basil Front Row: (Dying) basil, Italian Parsley, Thyme, Spicy Oregano, Sage, Marjoram, Marigolds
Back Row: Green Pepper, Red Pepper, Eggplant, Eggplant, and Rosemary.  Way Back Row: Wild Strawberries and Basil (dying).
Front Row: Basil (dying), Italian Parsley, Thyme, Spicy Oregano, Sage, Marjoram, and Marigolds.


Tomato Sugary Hybrid - can you see the little green bugs?
Tomato Sugary Hybrid – can you see the little green bugs?


Lettuce - All Star Mix - has been great in our salads.
Lettuce – All Star Mix – has been great in our salads.


I’d love some feedback from the gardeners out there.  So tell us, how do you take out the suckers?  Or do you just leave those suckers alone?

Just show me the baby

I finished my raised garden beds this week!

I wanted to write an informative post to go along with this project — it would’ve included links to my Pinterest searches and square foot gardening, pictures of my sketches, list of materials, and possibly some jokes about my trip to buy a wheel barrow and pick ax.

But, I got so much done this week, that I just want to share it with you.  One of my husband’s favorite lines is, “Just show me the baby.”  Simple enough.  I will spare you all the labor pains…here are the pictures:

Before picture of my side yard where we removed dead bushes:

Before picture:  The bushes in the side yard died two seasons ago.
Before picture: The bushes in the side yard died two seasons ago.

Here are a couple of pictures during the project:

Outside measures about 160 inches by 40 inches.  Inside of garden bed measures about 144 inches by 24 inches.
Outside measures about 160 inches by 40 inches. Inside of garden bed measures about 144 inches by 24 inches.


Newspaper lines the bottom of the garden bed to keep weeds from coming through the bottom.
Newspaper lines the garden bed to keep weeds from coming through the bottom.
I filled the garden bed with about 12 cubic feet of garden soil.


Here is my first vegetable garden:

First row:  tomatoes, green pepper, red pepper, eggplant, and rosemary Second row:  marigolds, lettuce, basil, parsley, thyme, spicy oregano, sage, marjoram, more marigolds
Back row: tomatoes, green pepper, red pepper, eggplant, and rosemary
Front row: marigolds, lettuce, basil, parsley, thyme, spicy oregano, sage, marjoram, more marigolds


I worry that the sprinklers won’t reach the vegetables.  I still have to figure out how to make a trellis.  But I have faith that most of these vegetables will grow.

At the beginning of this post I said garden beds.  Yes, there’s more…

Before picture of shade garden:


BEFORE:  The roots from the tree on the right made this area bumpy and not really usable.
BEFORE: The roots from the tree on the right made this area bumpy and not really usable.


After picture of shade garden:

AFTER:  Transplanted various hostas from parts of existing garden.  Impatiens from plant sale at Elena's old elementary school.  Also some petunias and dianthus.
AFTER: Transplanted various hostas from parts of existing garden. Impatiens from plant sale at Elena’s old elementary school. Also some petunias and dianthus.


Here’s one last picture of my tulips and daffodils. They finished blooming last week.


My first season of tulips and daffodils in bloom :)
My first season of tulips and daffodils in bloom 🙂


Special shoutout to my son for moving cinder blocks, dirt, and mulch in exchange for an excused absent note to study for his AP Euro exam.  Also, thanks to Lu for coming with me to get the wheel barrow and plants.  It would’ve been hard to take a selfie holding the pick ax.


Needed a wheel barrow and pick axe for this project.  Thanks, Lu!
Needed a wheel barrow and pick ax for this project. Thanks, Lu!


Thanks for stopping by.  Do you know how to build a simple trellis? Got any gardening tips?  Share it with us.

Compost Bin Project

As my deadline for this compost bin project approached, I realized that you actually have to buy and cook vegetables to have scraps to compost.

I thought about asking the produce guy at Waldbaums if he had any rotting discount produce…but I had to draw the line.  I WILL NOT buy rotting fruit and vegetables to make good dirt.

So I started the project, anyway, knowing that if I waited one more week, common sense would tell me to stop blogging.

Based on the instructions, to make compost, there has to be a perfect mix of “browns” (carbon) and “greens” (nitrogen).  I won’t pretend to know what all this means.  All I got out of it was that I had to layer the two like I was making lasagna.  

So, the bottom layer consists of leaves and yard waste from my inlaws’ garden. This is considered “Browns.”

Bottom layer of "Browns."  Special thanks to my inlaws for collecting them from their yard for me.
Bottom layer of “Browns.” Courtesy of my inlaws’ garden.

Next, I added the “Greens,” which consisted of vegetable peels, coffee grinds, and eggshells from my kitchen.  I also added a box of expired salad that was already turning slimy.

Second layer of "Greens," made up of kitchen scraps -- peels, carrots, egg shells, coffee grinds.  This smelled disgusting.
Second layer of “Greens.” This smelled disgusting.

Next, I added potting soil.  I read somewhere this would keep things moving or speed up the process.

Added some potting soil on top of the "Greens."
Potting soil on top of the “Greens.”

Last layer was browns.

Ended with a layer of "Browns."
Ended with a layer of “Browns.”

This project was loosely taken from Preparedness Mama‘s, “Create a Mini Compost Bin.”  I decided to not collect the drippings.  For now, they can just ooze down to fertilize my tree.  

I’ll report back next month on my progress.  For now, I leave you with an updated photo of my daffodils and tulips.  Spring is really near!

Here's an update of the progress of my daffodils and tulips :)
Here’s an update of the progress of my daffodils and tulips 🙂

How is your garden looking?  Share with us your projects for the Spring.


Signs of Spring

When the weather girl said there was a Nor’easter coming and we possibly might get snow (again), I was tempted to cry.   But I saw something that gave me hope that Spring was near.

These daffodils didn't get the memo that a Nor'easter is coming.
These daffodils didn’t get the memo that a Nor’easter was coming.

Last Fall, I finally got tired of arguing with myself about planting some bulbs for the Spring.  What kind do I pick?  What color?  How deep would they go in the ground?  What if nothing blooms?  This yearly argument has always ended with me say, “Maybe next time…”

Determined, I scheduled “Bulb Project” on my planner and just did it. I planted 100 tulips and 100 daffodils in my front yard.  The bulb-planting gadget that I got from Home Depot conked out around Daffodil #28.   So I ended up using a shovel and plain old elbow grease to finish the rest.

So here it is, Folks!  Signs of Spring!

Four (or 5?) tulips peeking out.

Even though it’s still freezing outside, I’m hopeful.

Tell us, what signs do you see that Spring is near?

Composting

Spring starts tomorrow, but my car was covered in frost this morning.  It’s been a nasty winter.

I’d like to start a compost bin.  I’ve found so many “easy” ideas on Pinterest.  I wonder if it’s something I can actually do.

Will there be bugs…ewwww..or worse – rats?  Can I find a spot that in the yard where the sprinklers don’t hit?  Will Bojangles be able to leave it alone?

This is the summer that I’m going to try.  I’m not going to let fear or negative thoughts stop me.

Now if only I can learn how to use a drill…

Does anyone have a working compost bin?  How easy is this really?

**Here is the site for the easy composting project:  http://preparednessmama.com/create-a-mini-compost-bin/

Let me know how it goes!