As my deadline for this compost bin project approached, I realized that you actually have to buy and cook vegetables to have scraps to compost.
I thought about asking the produce guy at Waldbaums if he had any rotting discount produce…but I had to draw the line. I WILL NOT buy rotting fruit and vegetables to make good dirt.
So I started the project, anyway, knowing that if I waited one more week, common sense would tell me to stop blogging.
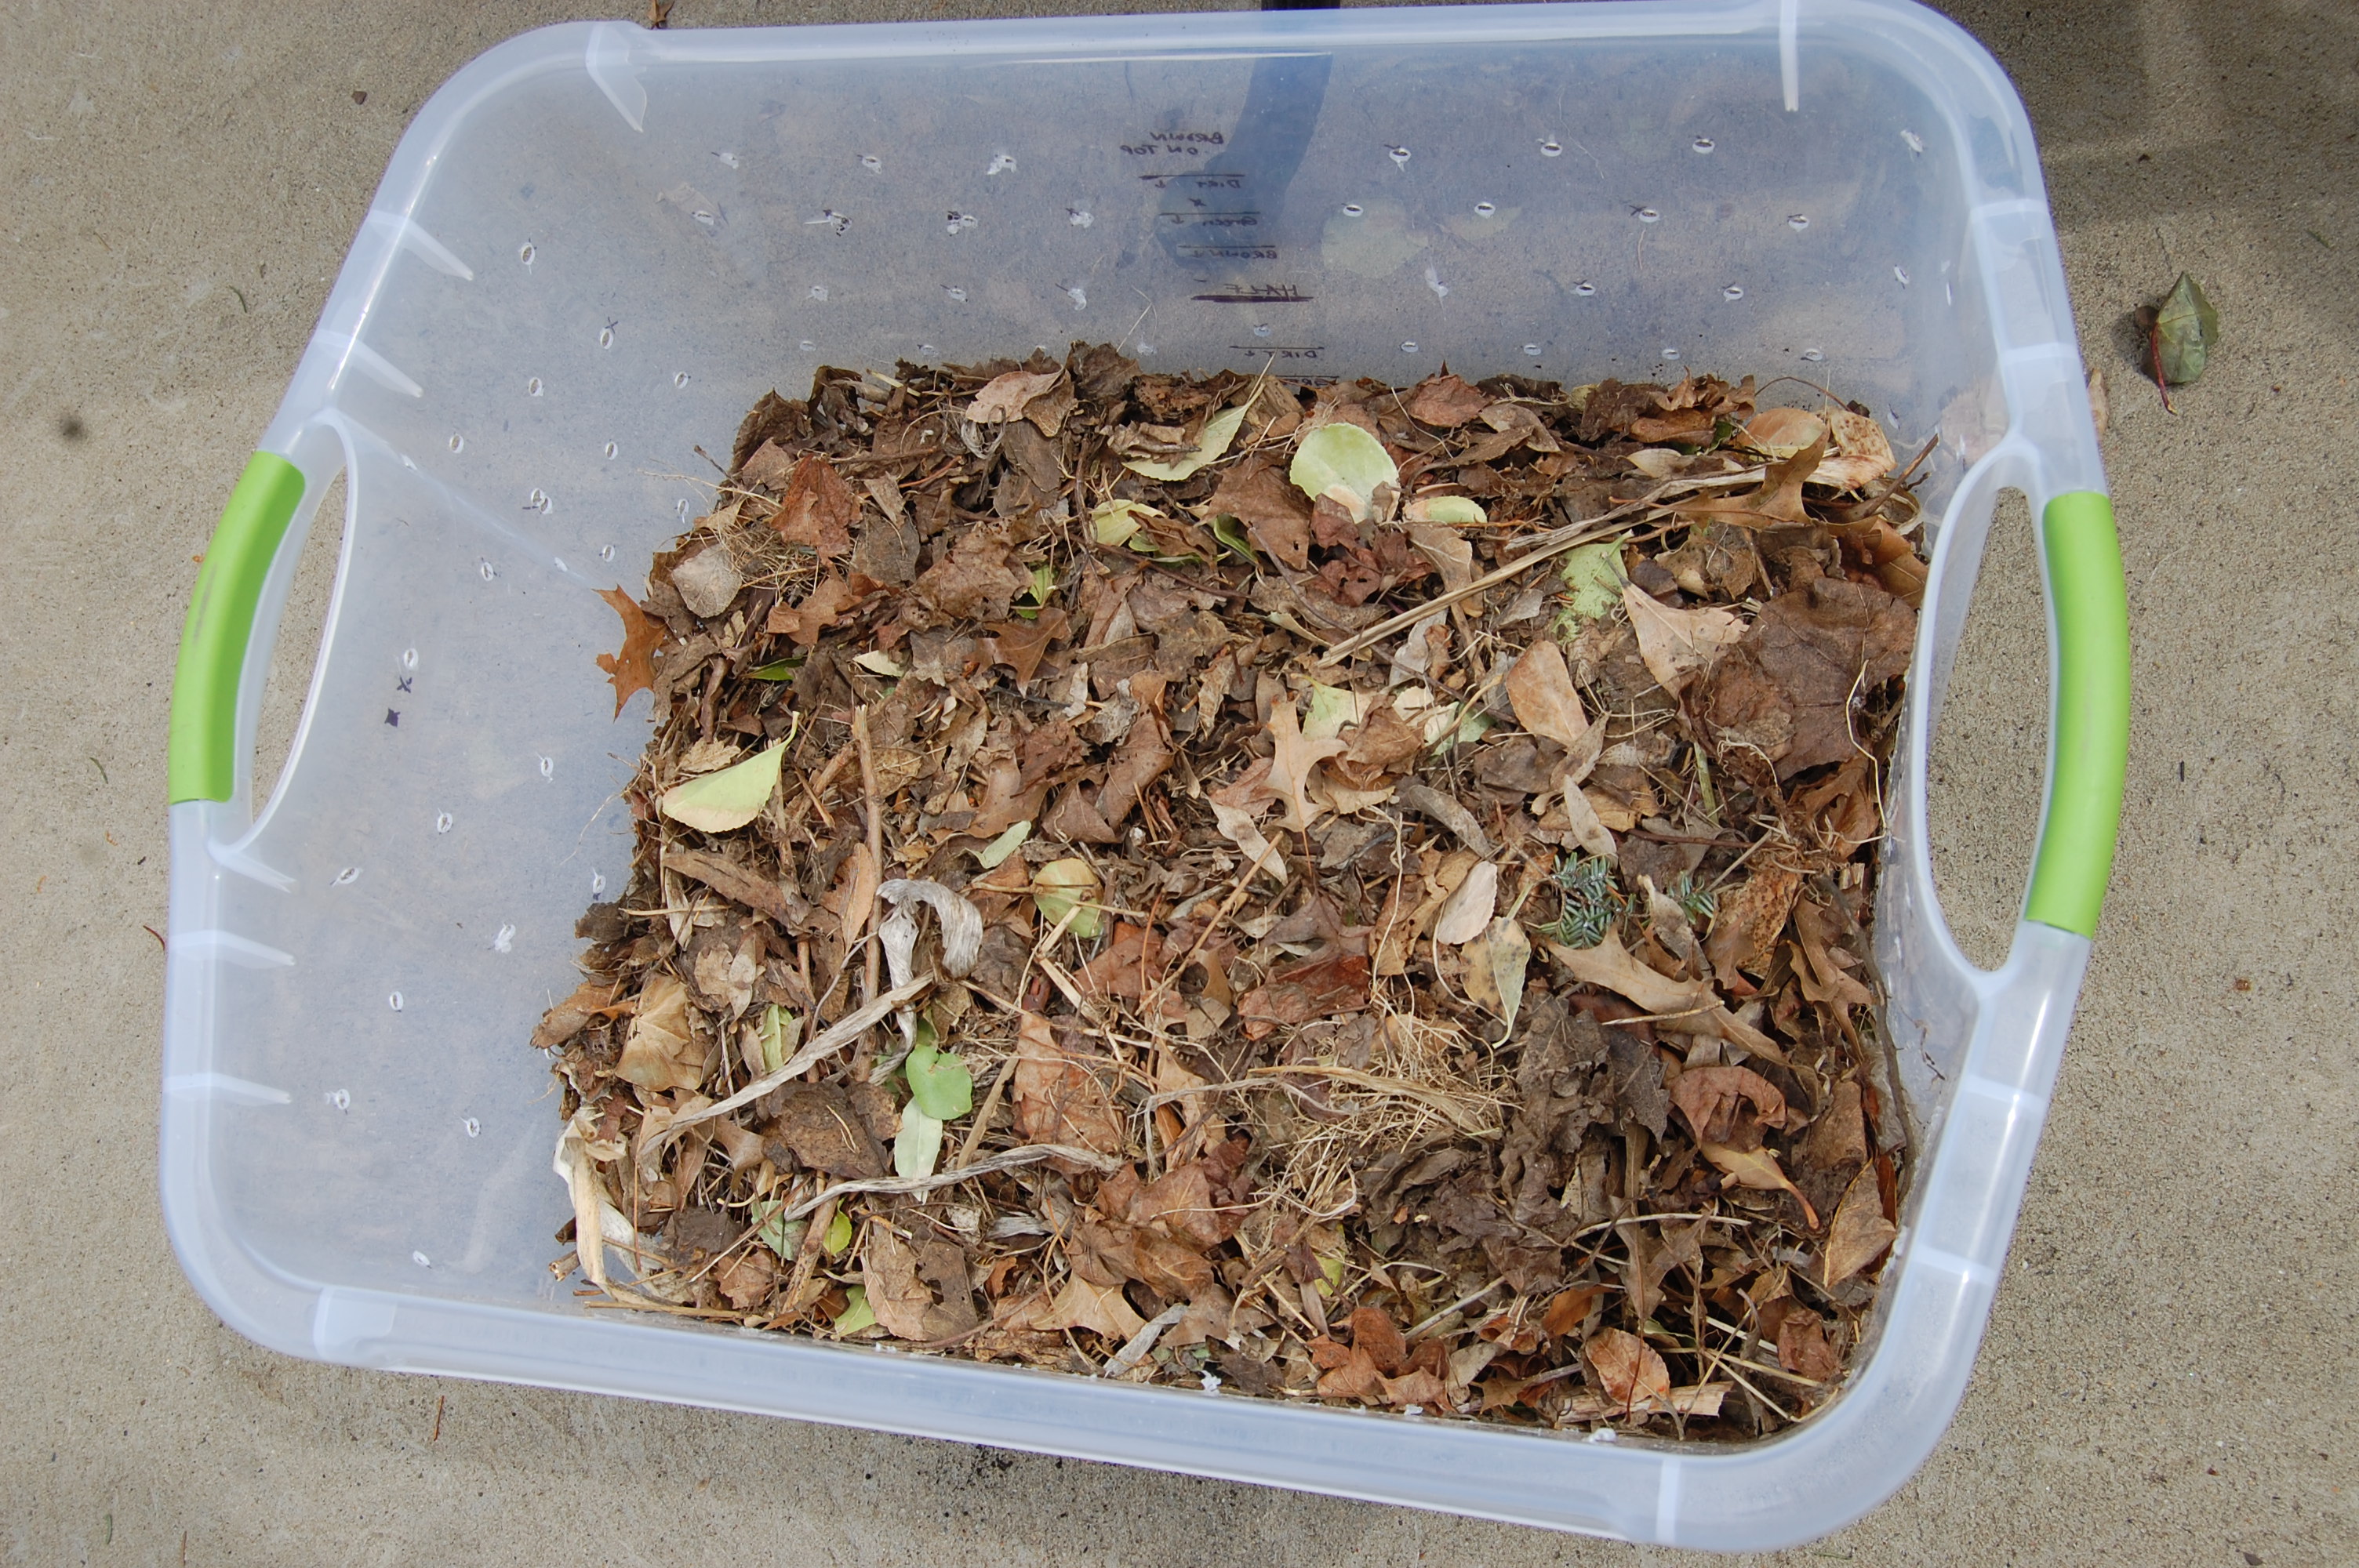
Based on the instructions, to make compost, there has to be a perfect mix of “browns” (carbon) and “greens” (nitrogen). I won’t pretend to know what all this means. All I got out of it was that I had to layer the two like I was making lasagna.
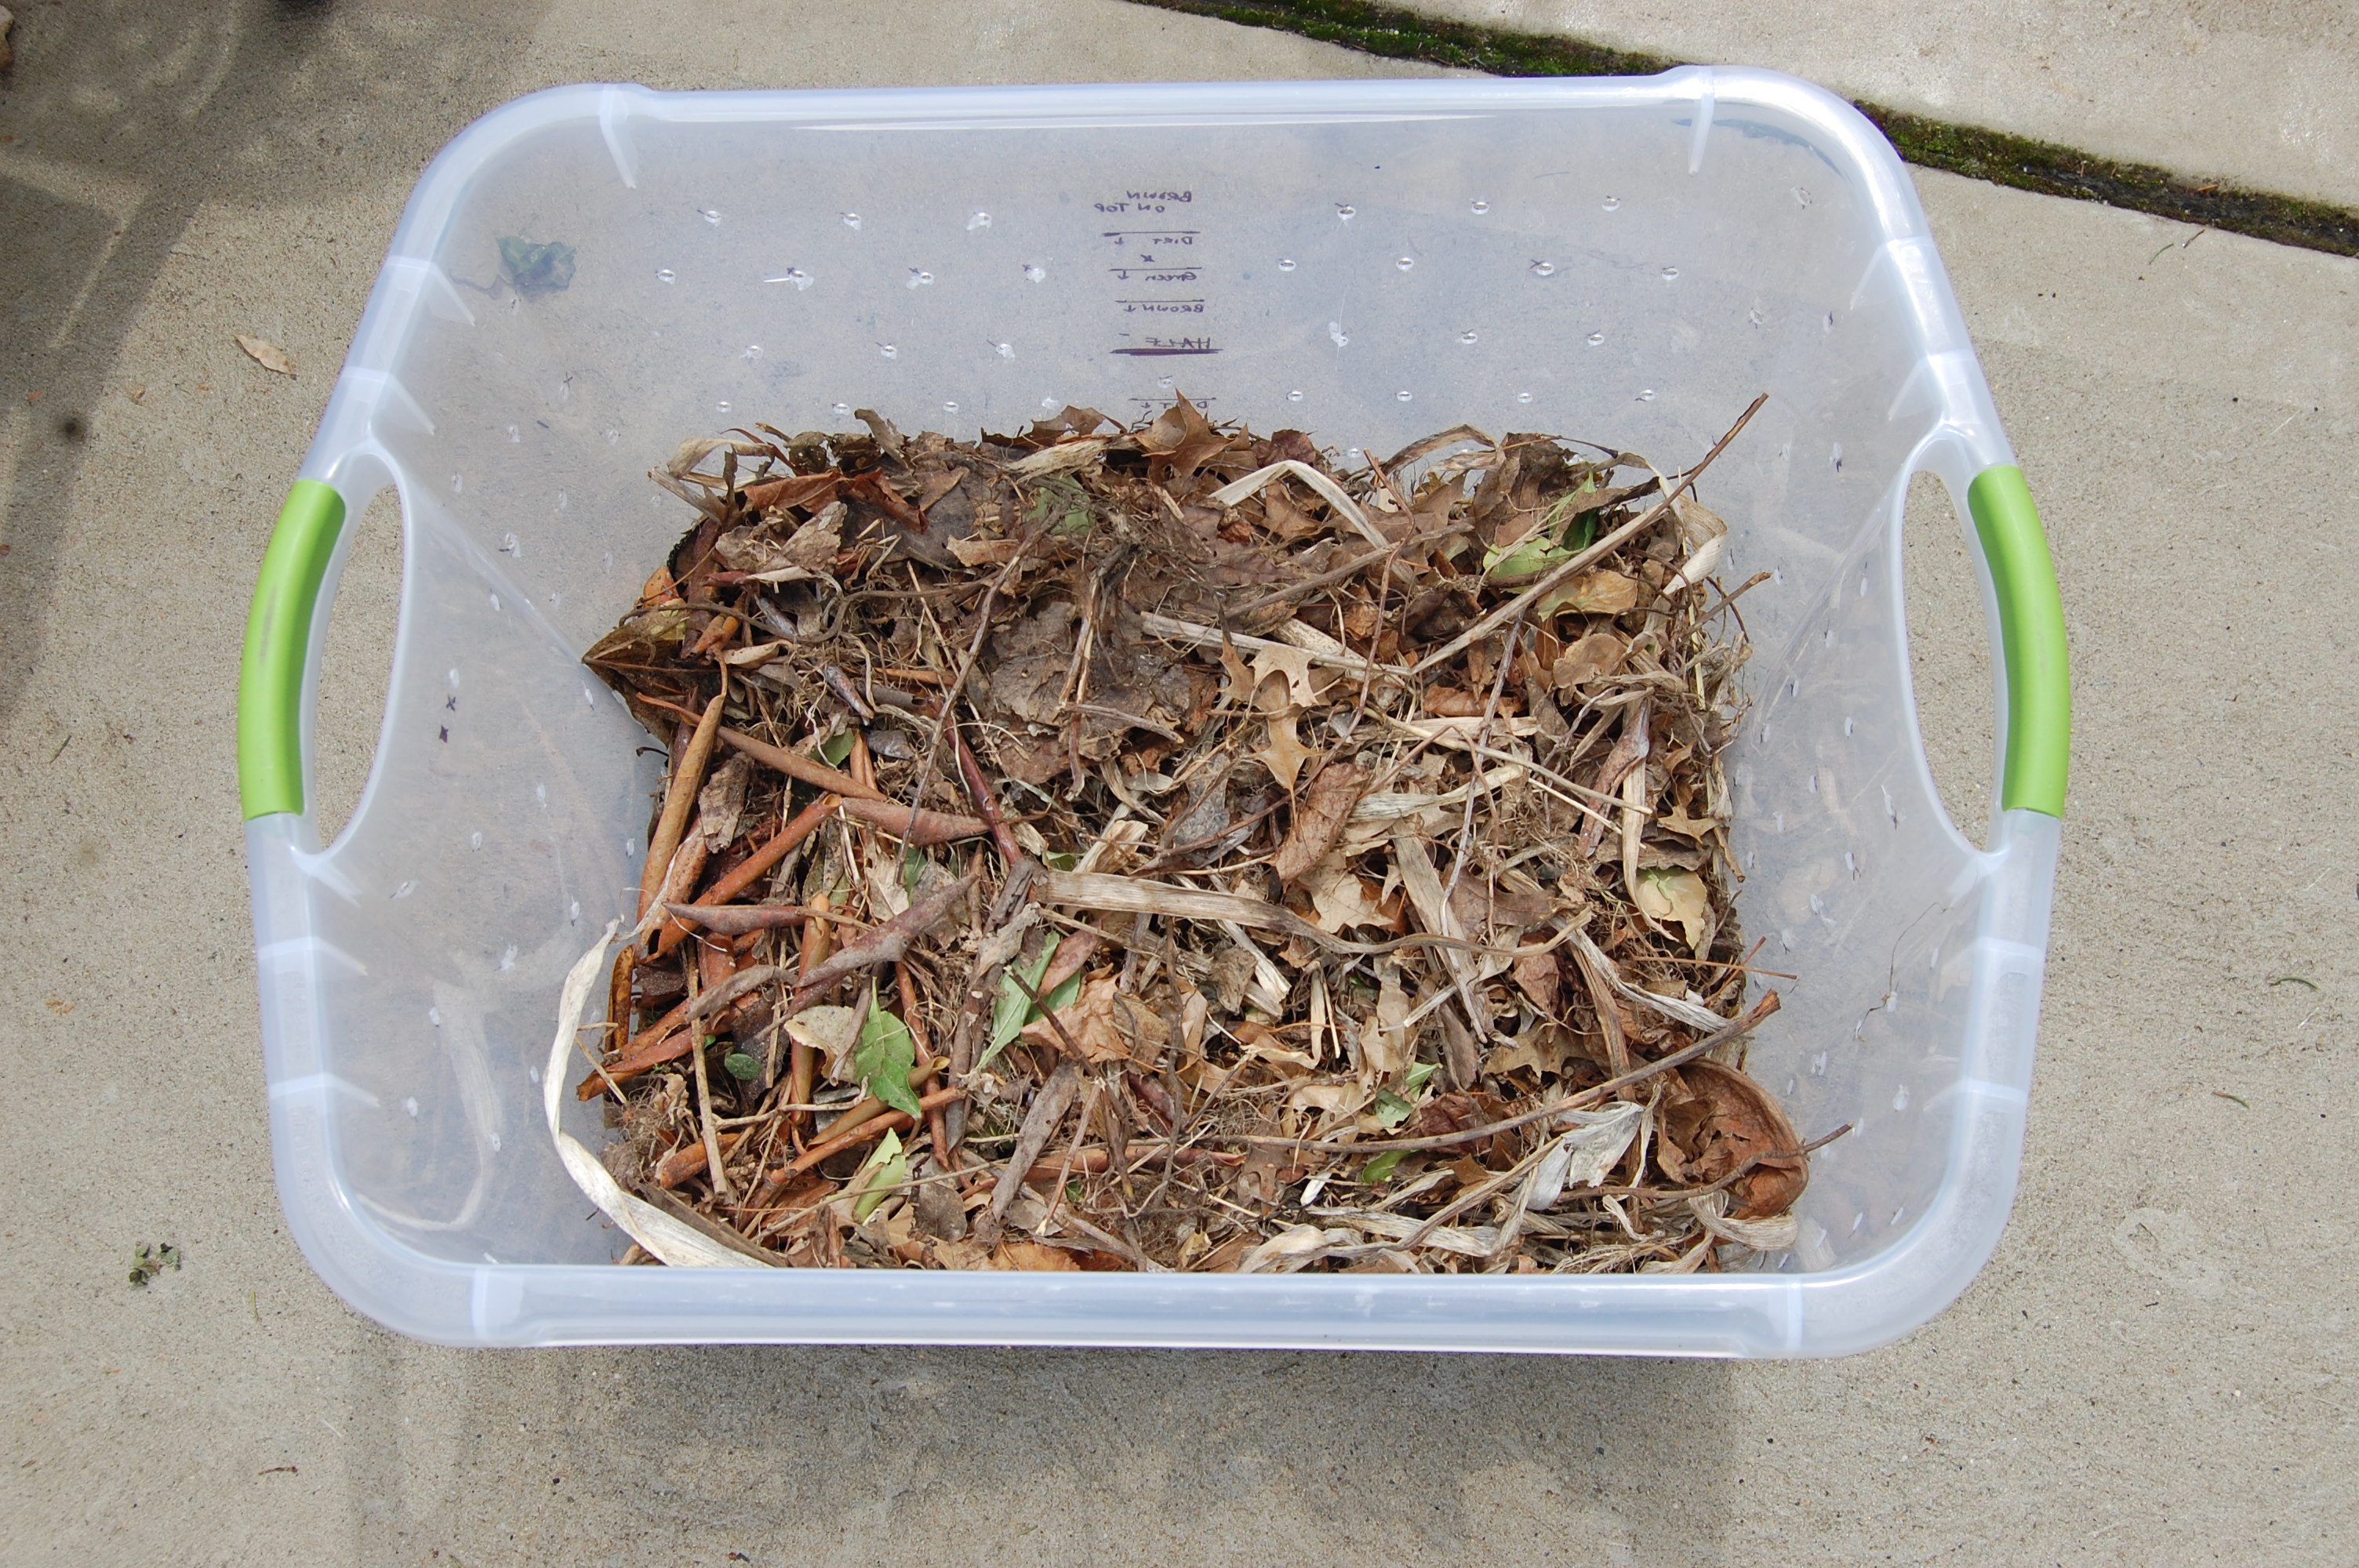
So, the bottom layer consists of leaves and yard waste from my inlaws’ garden. This is considered “Browns.”
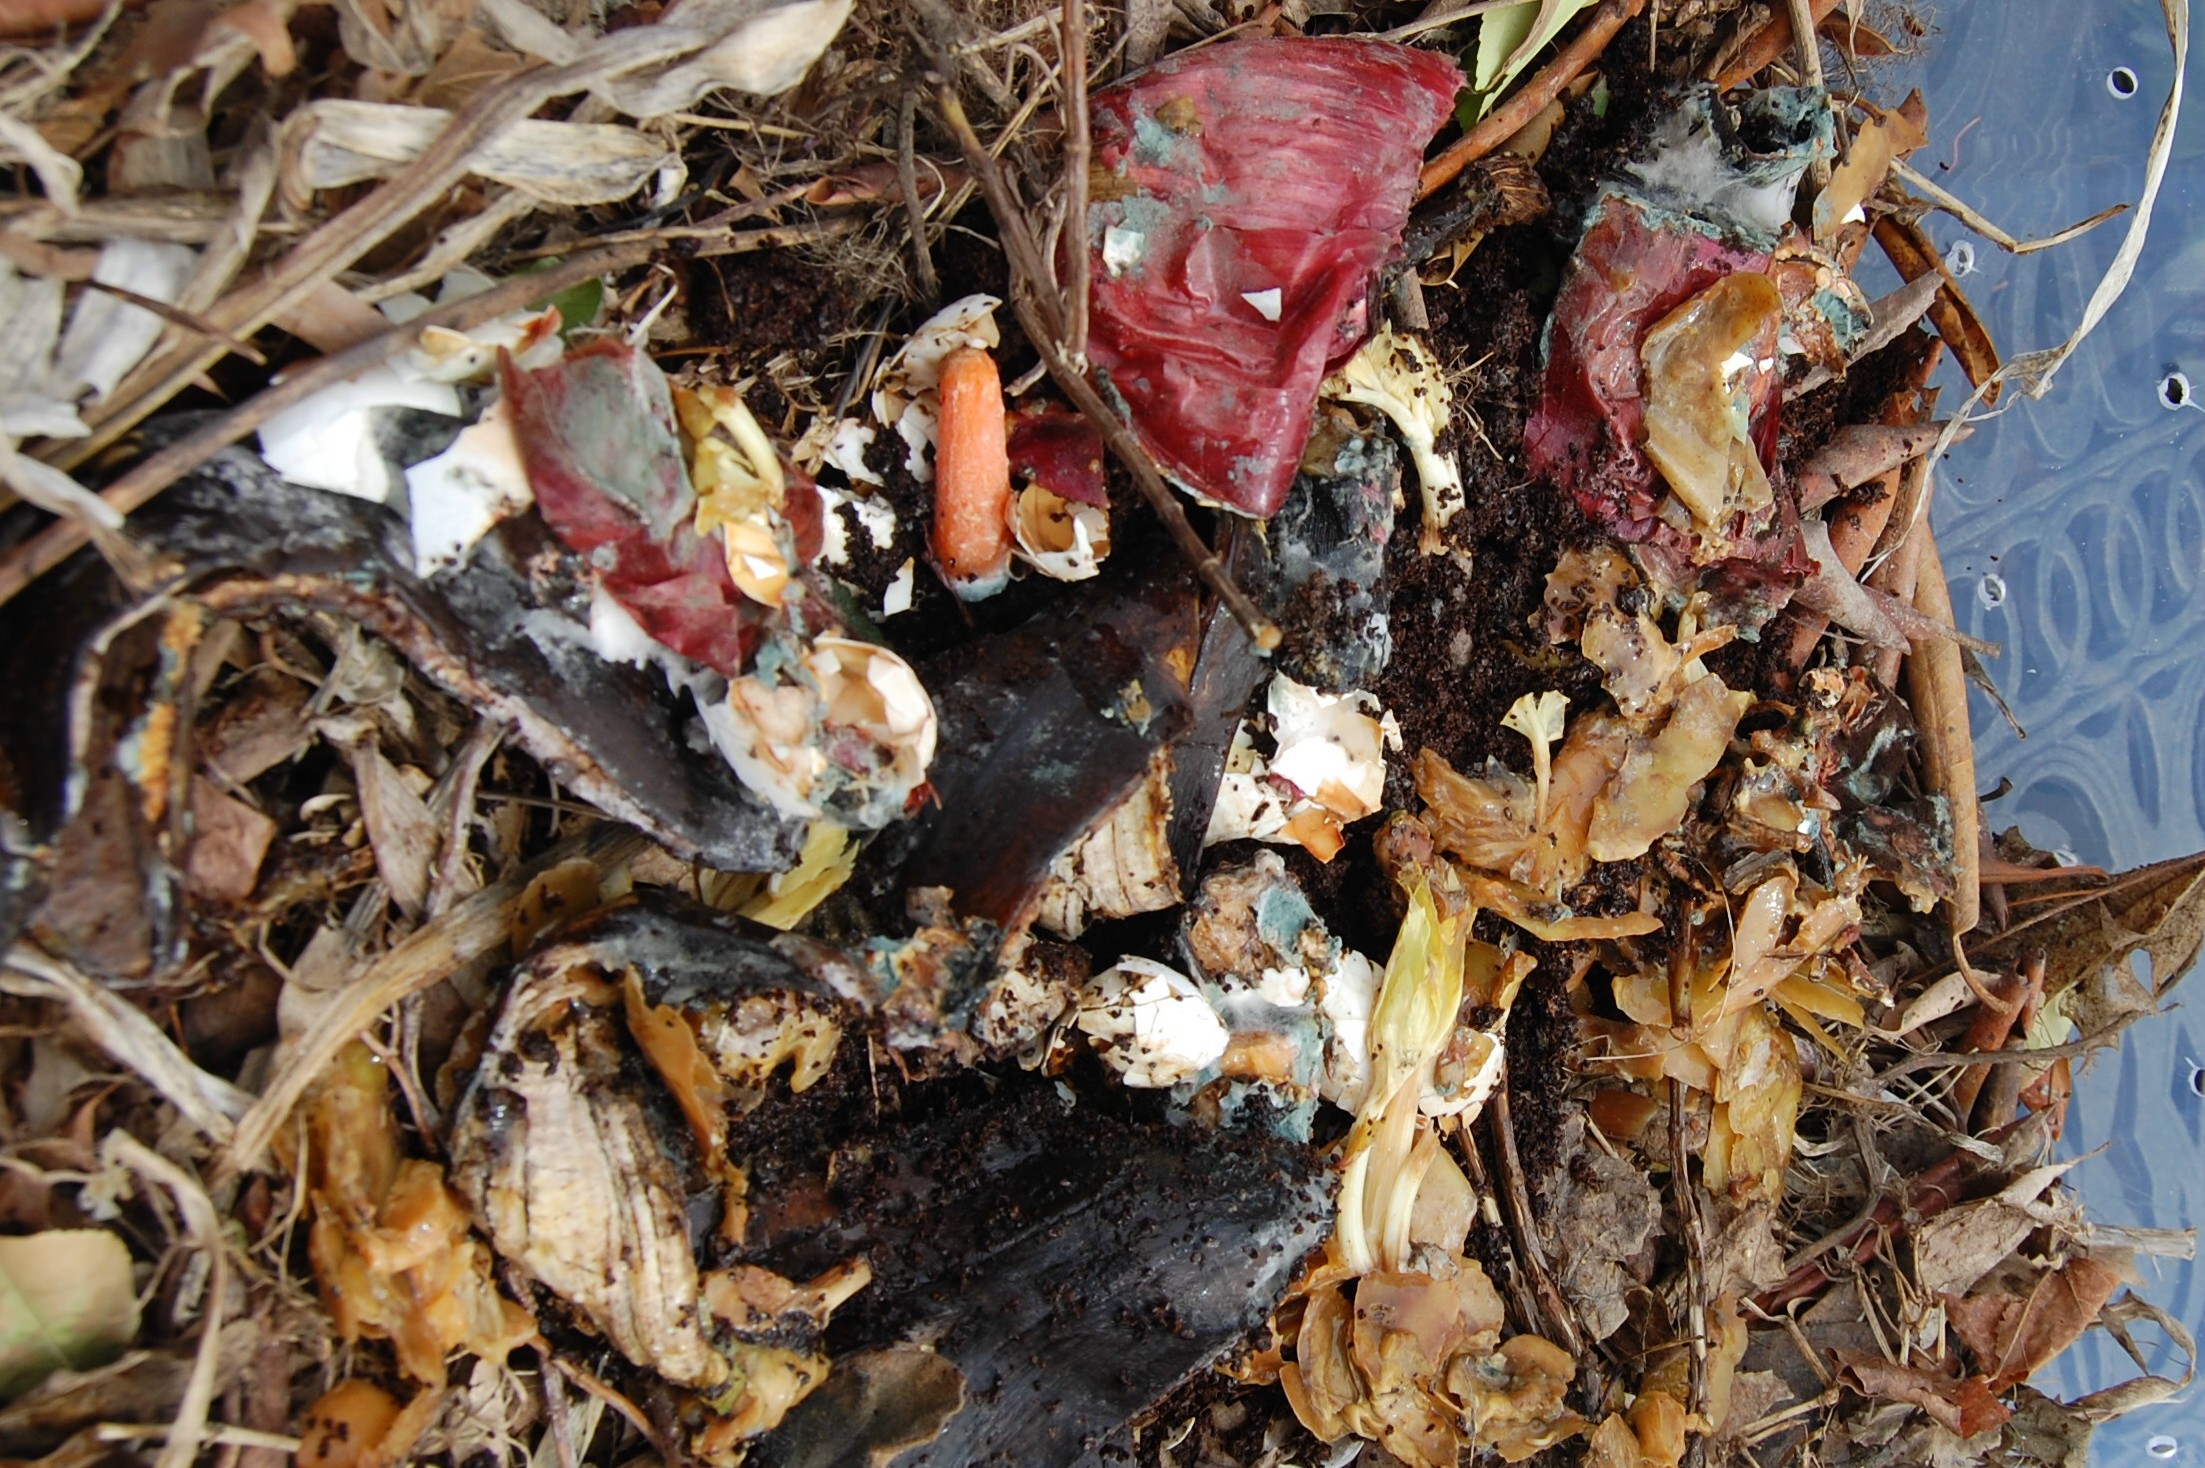
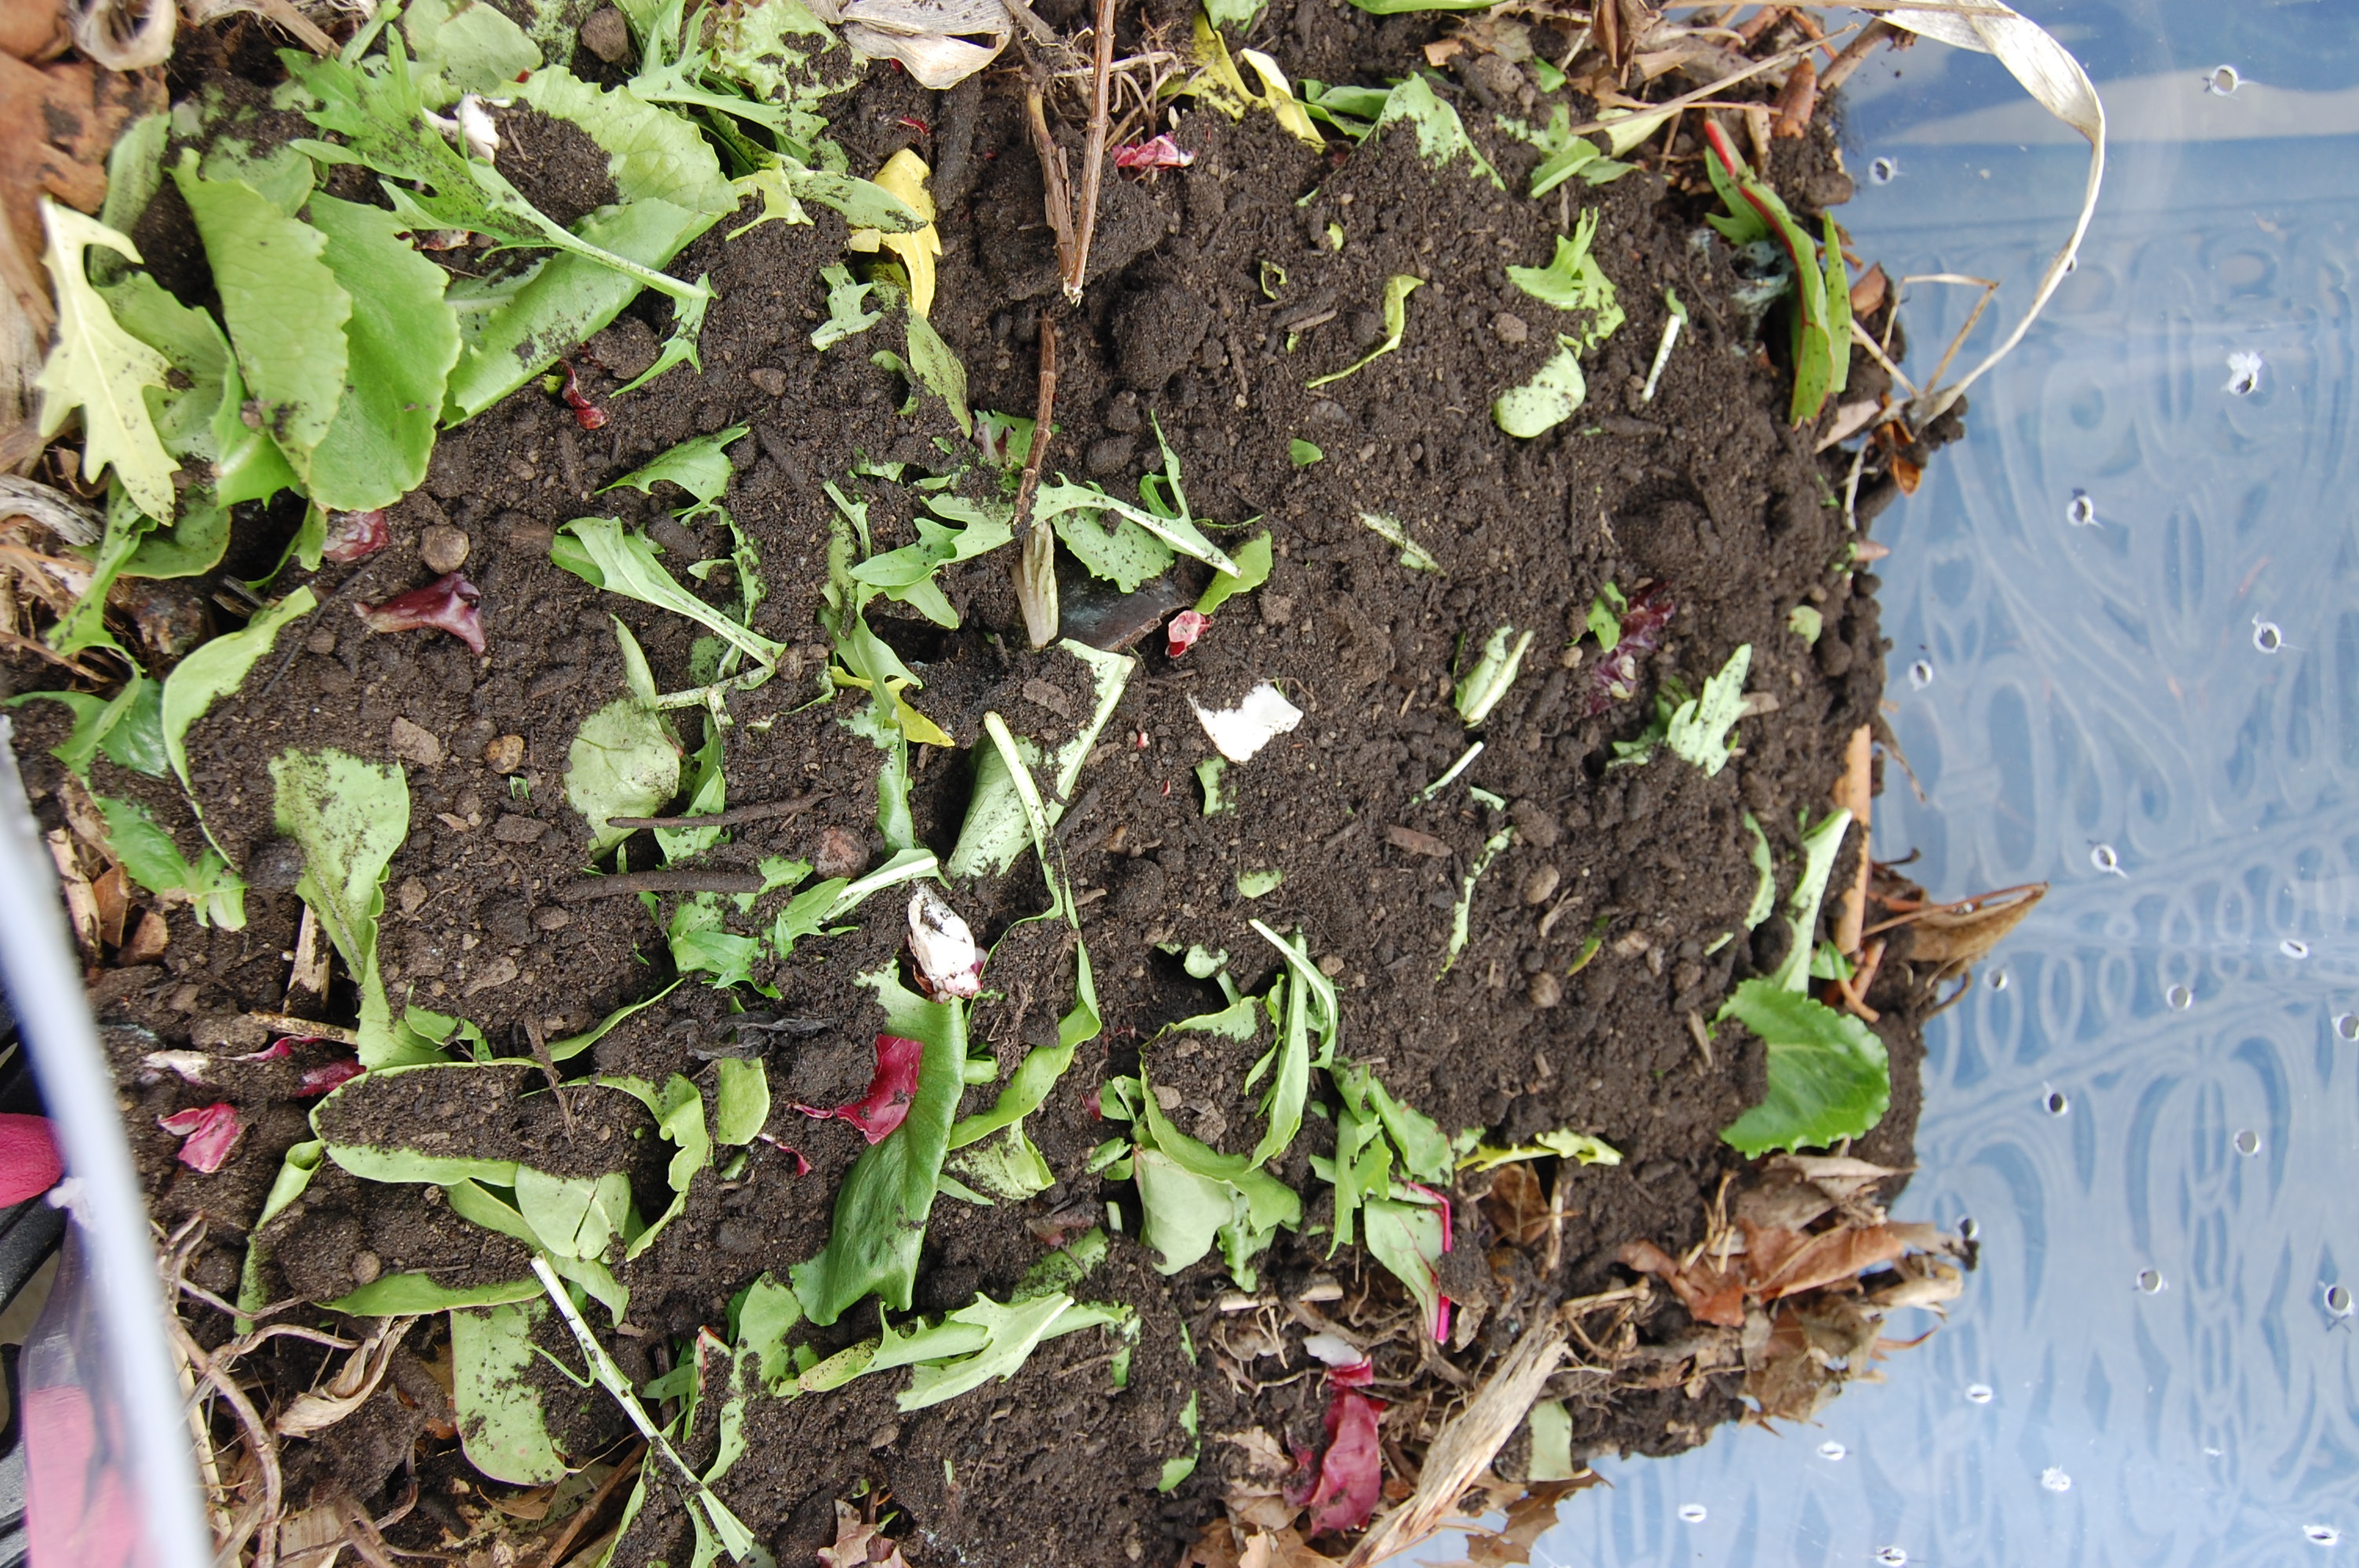
Next, I added the “Greens,” which consisted of vegetable peels, coffee grinds, and eggshells from my kitchen. I also added a box of expired salad that was already turning slimy.
Next, I added potting soil. I read somewhere this would keep things moving or speed up the process.
Last layer was browns.
This project was loosely taken from Preparedness Mama‘s, “Create a Mini Compost Bin.” I decided to not collect the drippings. For now, they can just ooze down to fertilize my tree.
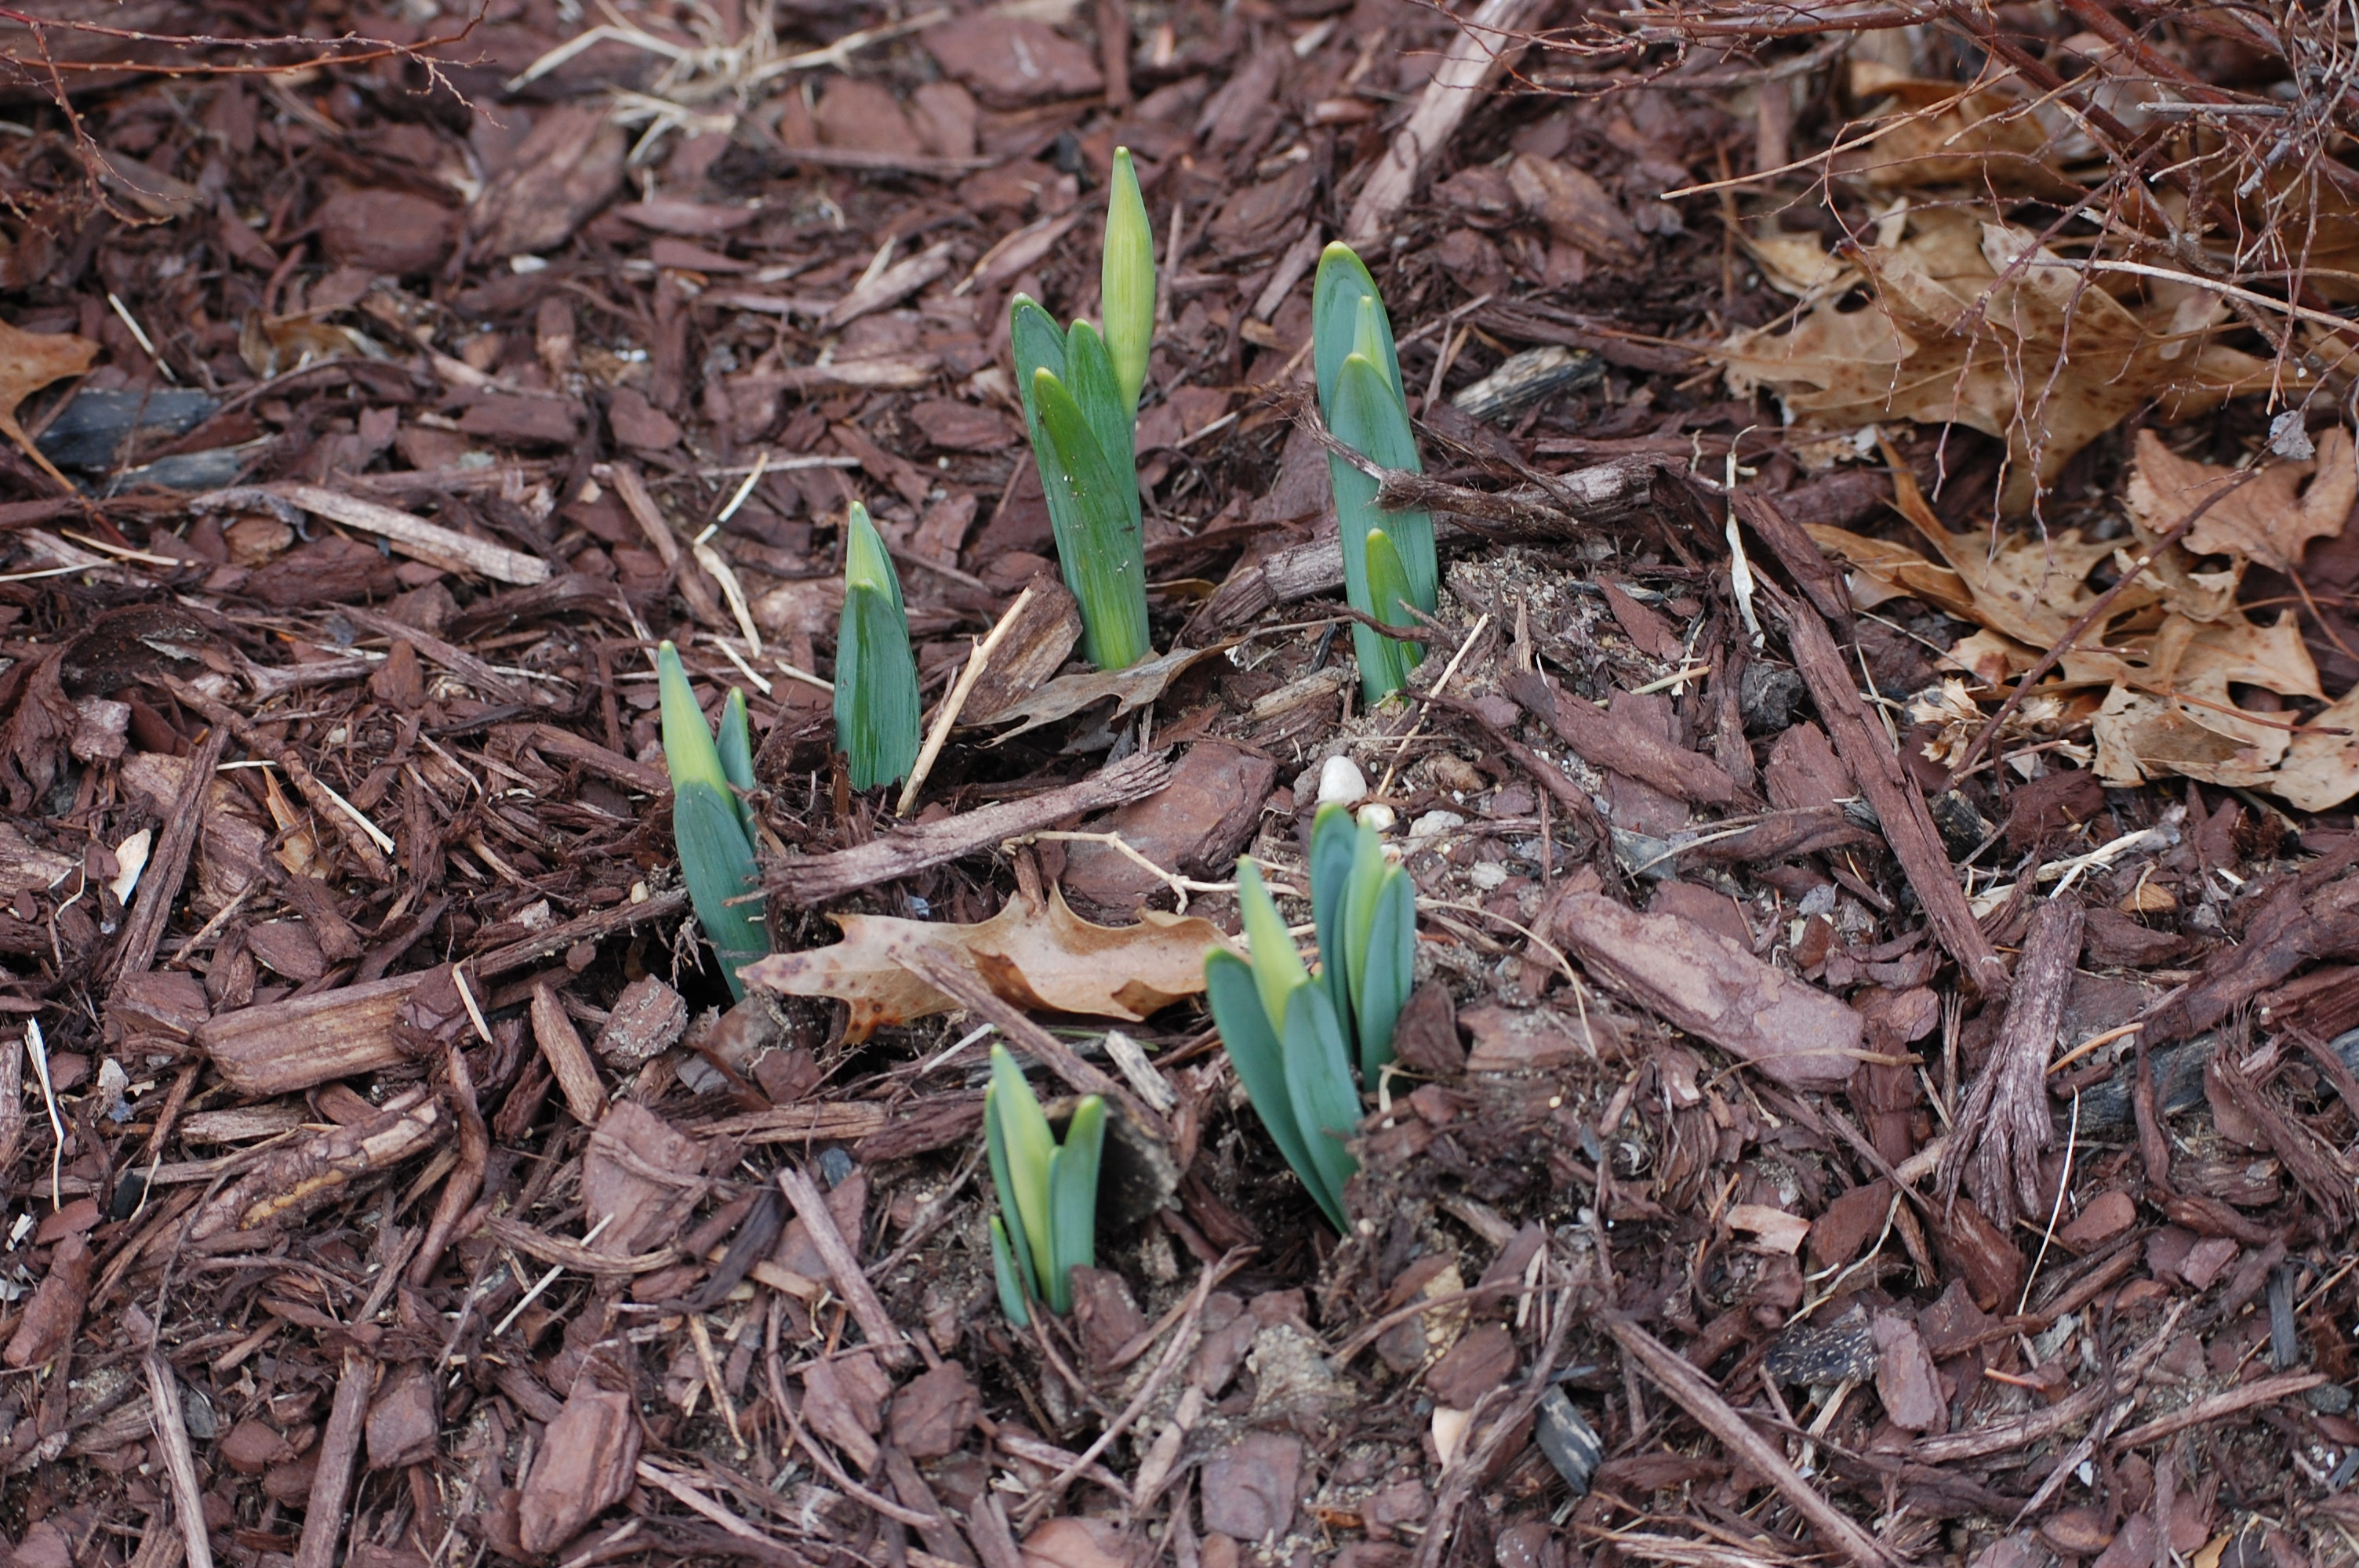
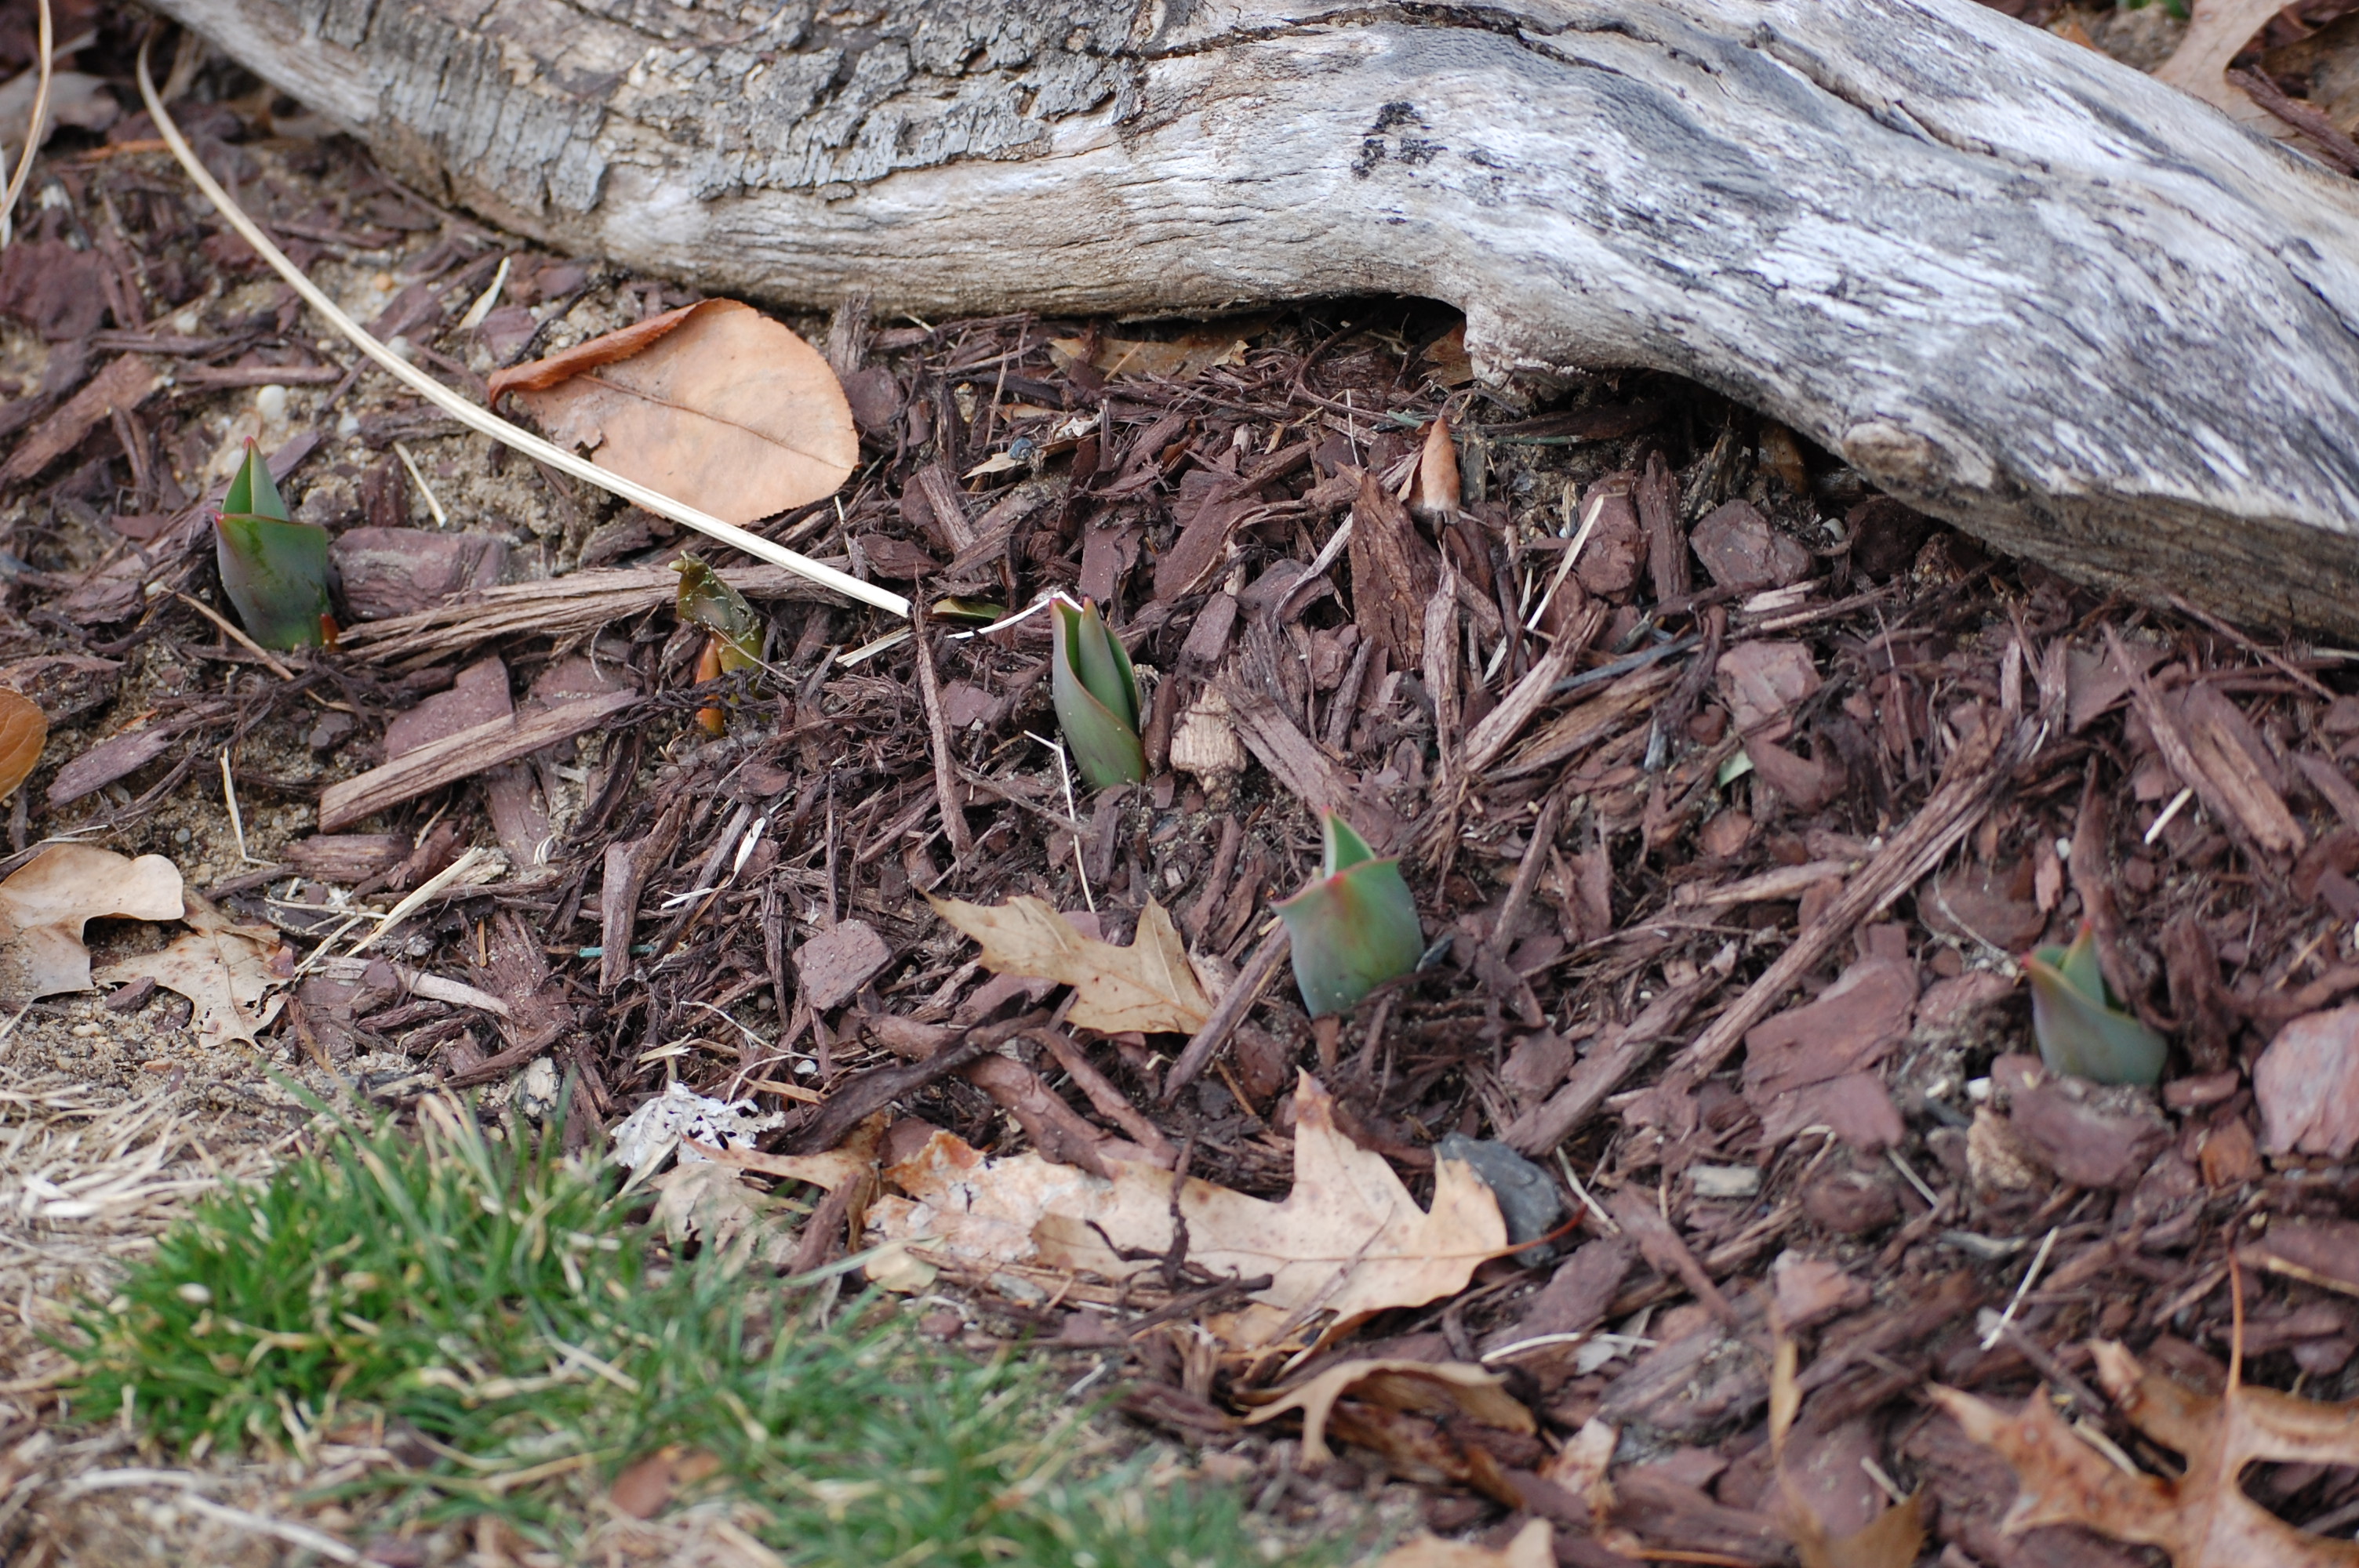
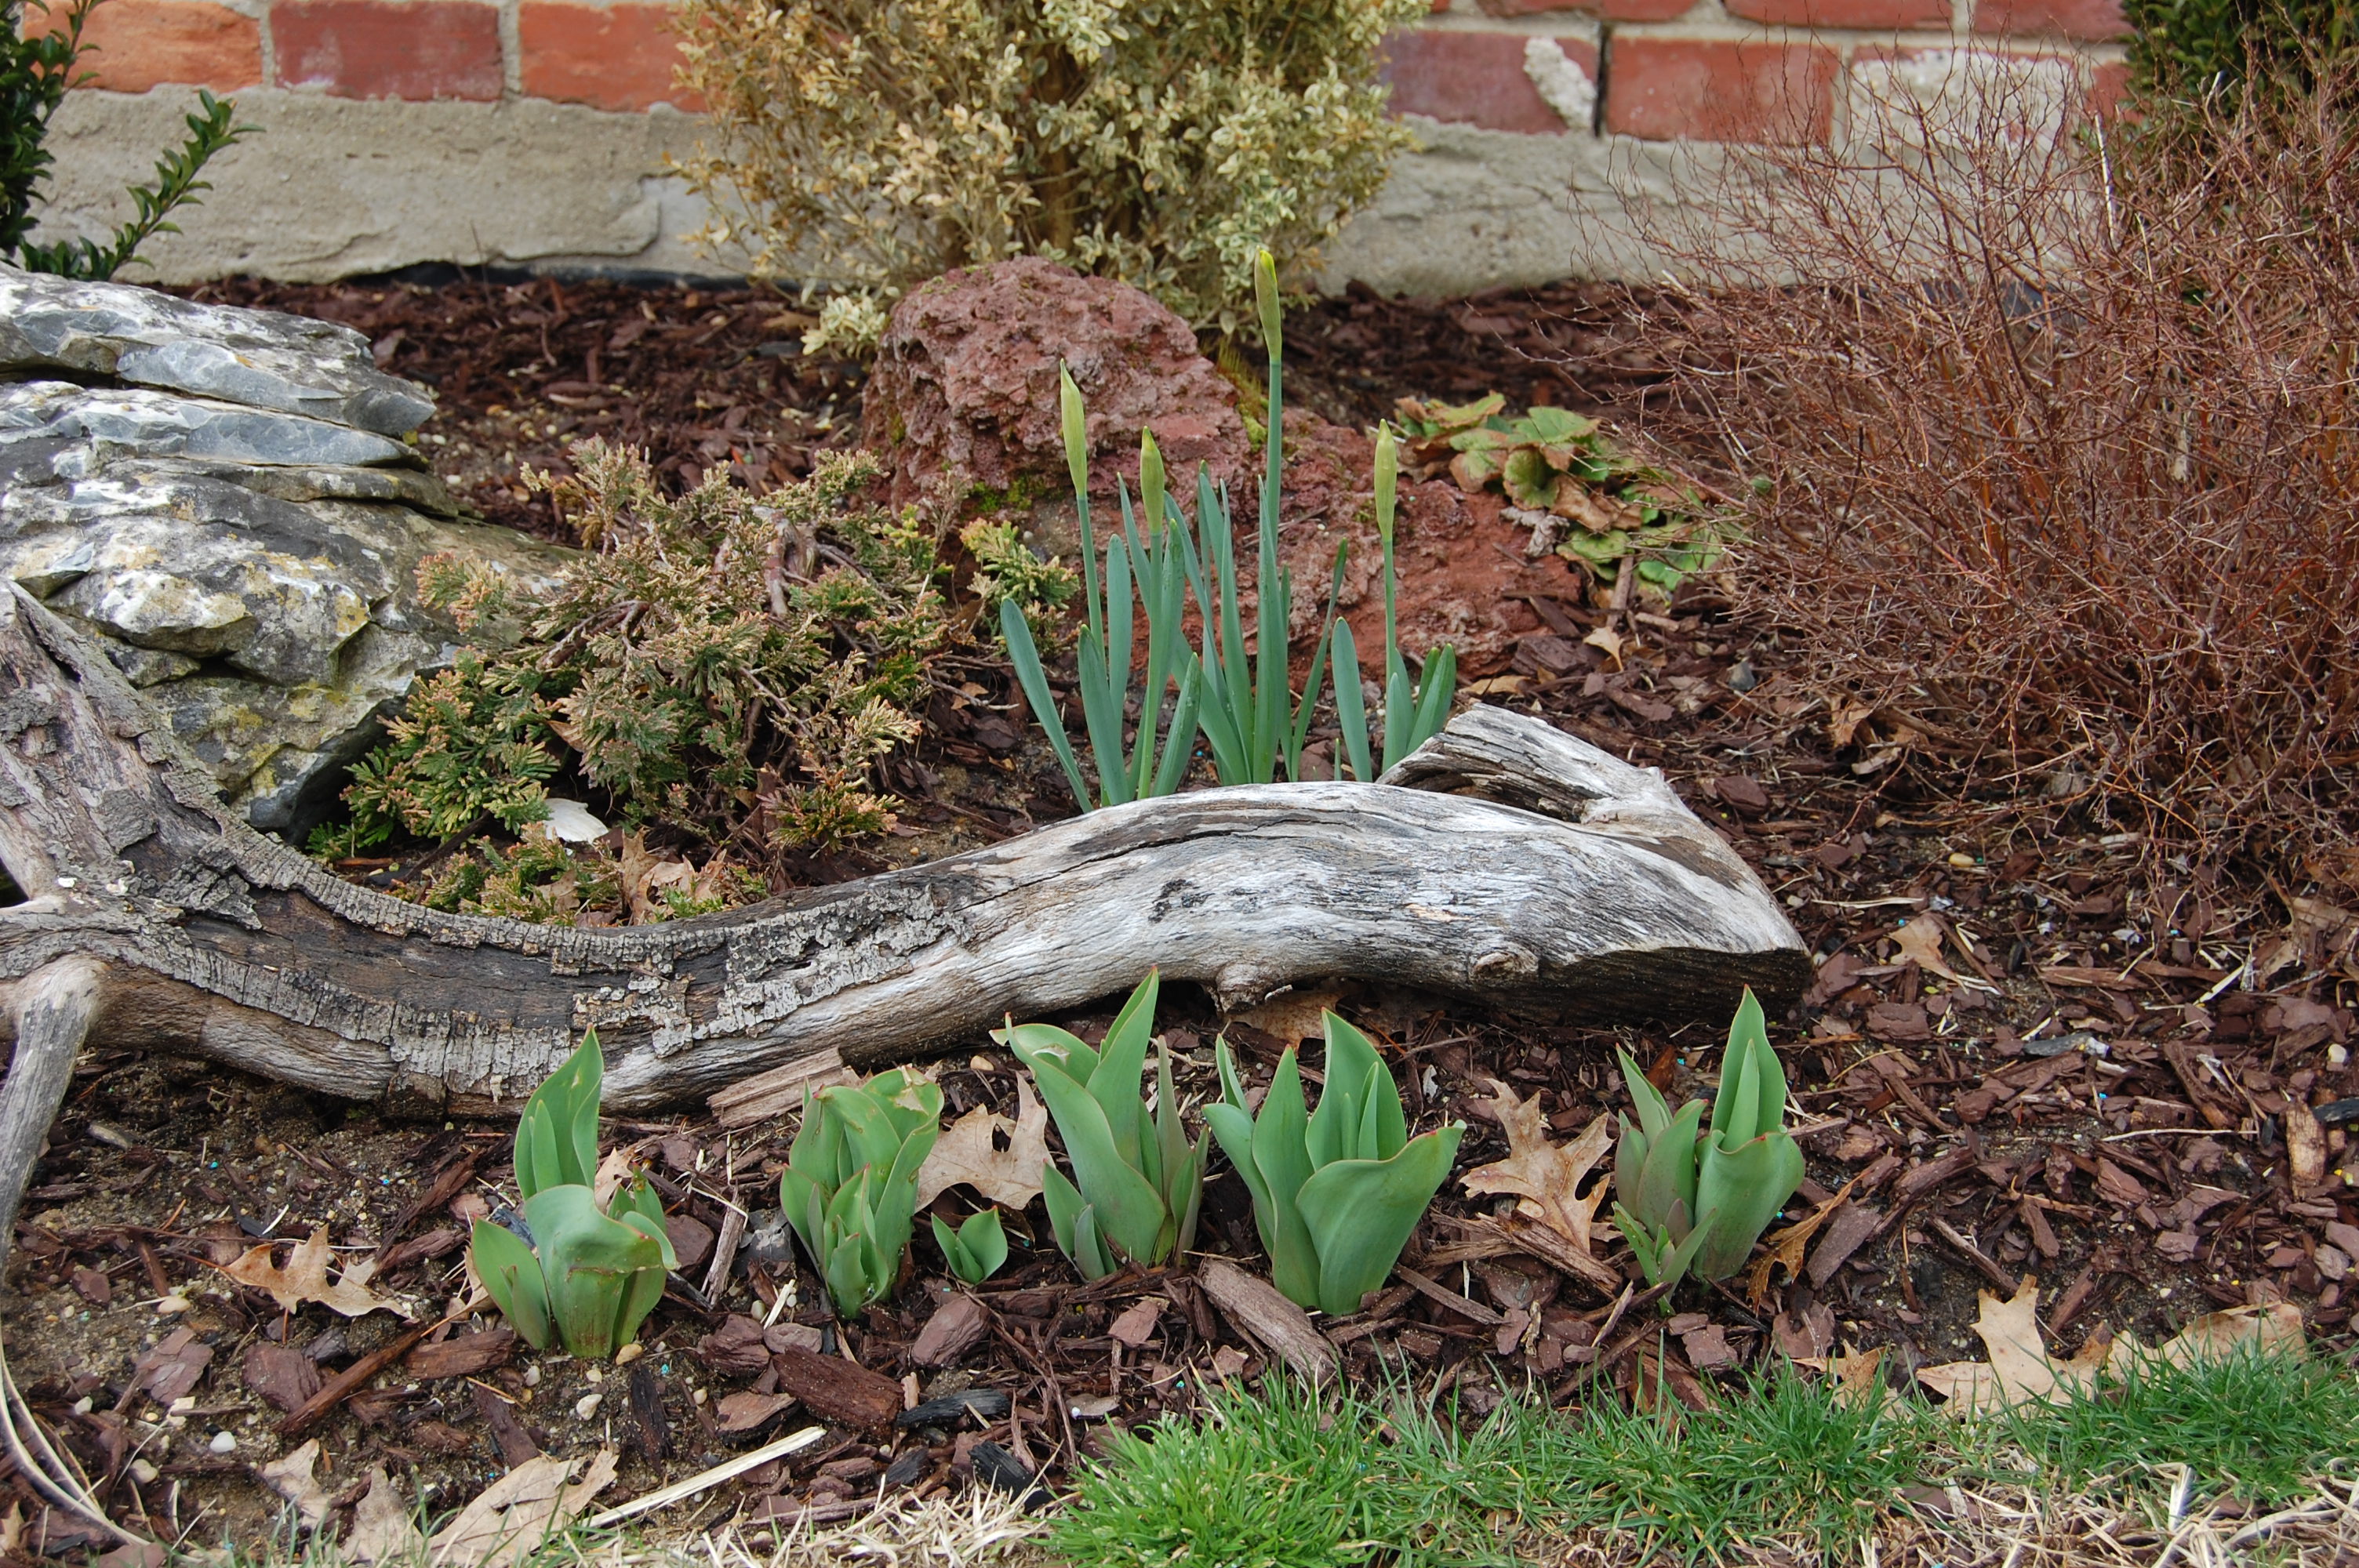
I’ll report back next month on my progress. For now, I leave you with an updated photo of my daffodils and tulips. Spring is really near!
How is your garden looking? Share with us your projects for the Spring.